
MrCool Mini Split Maintenance: DIY Care Guide
Keep your MrCool mini split running efficiently for years with this complete DIY maintenance guide. Monthly, seasonal, and annual tasks explained.
Admin User
Author
MrCool Mini Split Maintenance: DIY Care Guide
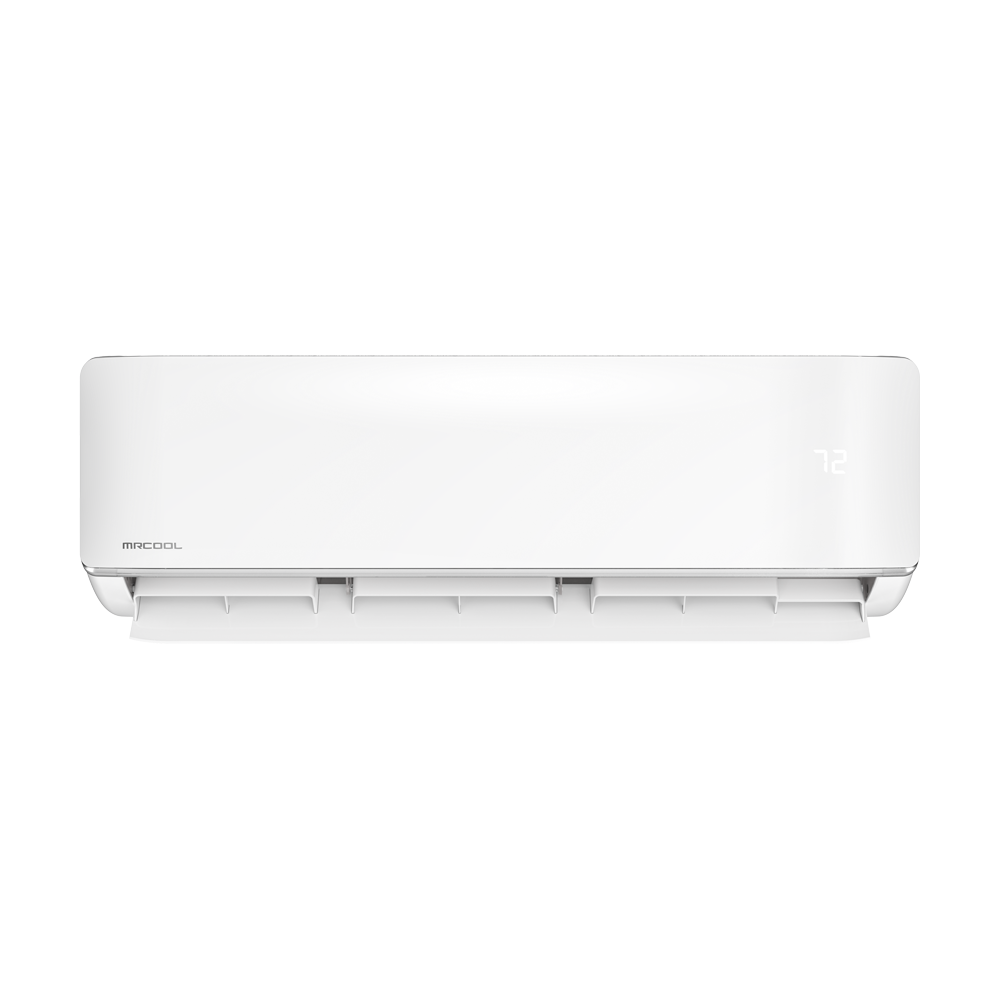
One of the biggest advantages of MrCool mini split systems is how little maintenance they require compared to central air. No ductwork to clean, no furnace filters to replace monthly, no complex mechanical components to service. But a little routine care goes a long way toward keeping your system efficient and extending its lifespan.
This guide covers everything you need to know about maintaining your MrCool 5th Gen DIY mini split — all tasks you can do yourself with basic household supplies.
Monthly Maintenance (5 Minutes)
Clean or Check the Air Filters
The single most important maintenance task. MrCool mini splits use washable, reusable filters — no replacement filters to buy.
How to clean the filters:
- Open the front panel of the indoor air handler by gently lifting the bottom edge
- Slide out the mesh filters — they lift out easily
- Rinse under warm water until the water runs clear
- Let them air dry completely before reinstalling (20-30 minutes)
- Slide filters back in and close the front panel
Why this matters: Dirty filters restrict airflow, forcing the system to work harder. A clogged filter can reduce efficiency by 15-25% and strain the compressor. Five minutes of monthly cleaning can save you hundreds of dollars in energy costs and prevent premature system failure.
Pro tip: Set a recurring reminder on your phone for the first of every month. Make it a habit and you'll never forget.
Check for Unusual Sounds or Odors
During your monthly filter cleaning, take a moment to:
- Listen for any new clicking, grinding, or rattling sounds
- Smell for any musty or unusual odors (could indicate mold growth on the coil)
- Check that air flows evenly from the unit
- Verify the remote control and WiFi app are responding properly
Quarterly Maintenance (15-20 Minutes)
Clean the Indoor Unit's Evaporator Coils
Every three months, give the indoor unit a more thorough cleaning:
- Turn off the system using the remote or breaker
- Open the front panel fully
- Remove the filters (clean them too while you're at it)
- Inspect the evaporator coils — the metal fins behind the filters
- Use a soft brush to gently remove dust from the coils (a clean paintbrush works well)
- For deeper cleaning: Spray a no-rinse evaporator coil cleaner (available at any hardware store for $8-$12) onto the coils. The condensation from normal operation will rinse it away.
- Wipe down the housing with a damp cloth
- Clean the louvers and vanes with a damp cloth — dust accumulates on the horizontal and vertical swing vanes
Check the Condensate Drain
The indoor unit produces condensation that drains through a small hose to the outside. If this drain clogs, water can back up and leak from the unit.
- Locate the drain hose — it exits the wall near the line set
- Ensure it's draining freely — you should see occasional drips during operation
- If slow or clogged: Pour a small amount of diluted bleach (1 part bleach to 10 parts water) through the drain to clear algae buildup
- Check for kinks in the drain line that could restrict flow
Inspect the Line Set Cover
If you installed a line set cover (the plastic channel that runs along the exterior wall):
- Check for cracks or separation at joints
- Ensure it's still securely mounted
- Look for signs of pest intrusion — wasps and insects sometimes build nests inside
Seasonal Maintenance (30 Minutes, Twice Per Year)
Spring: Pre-Cooling Season Prep
Before the cooling season kicks in (April-May):
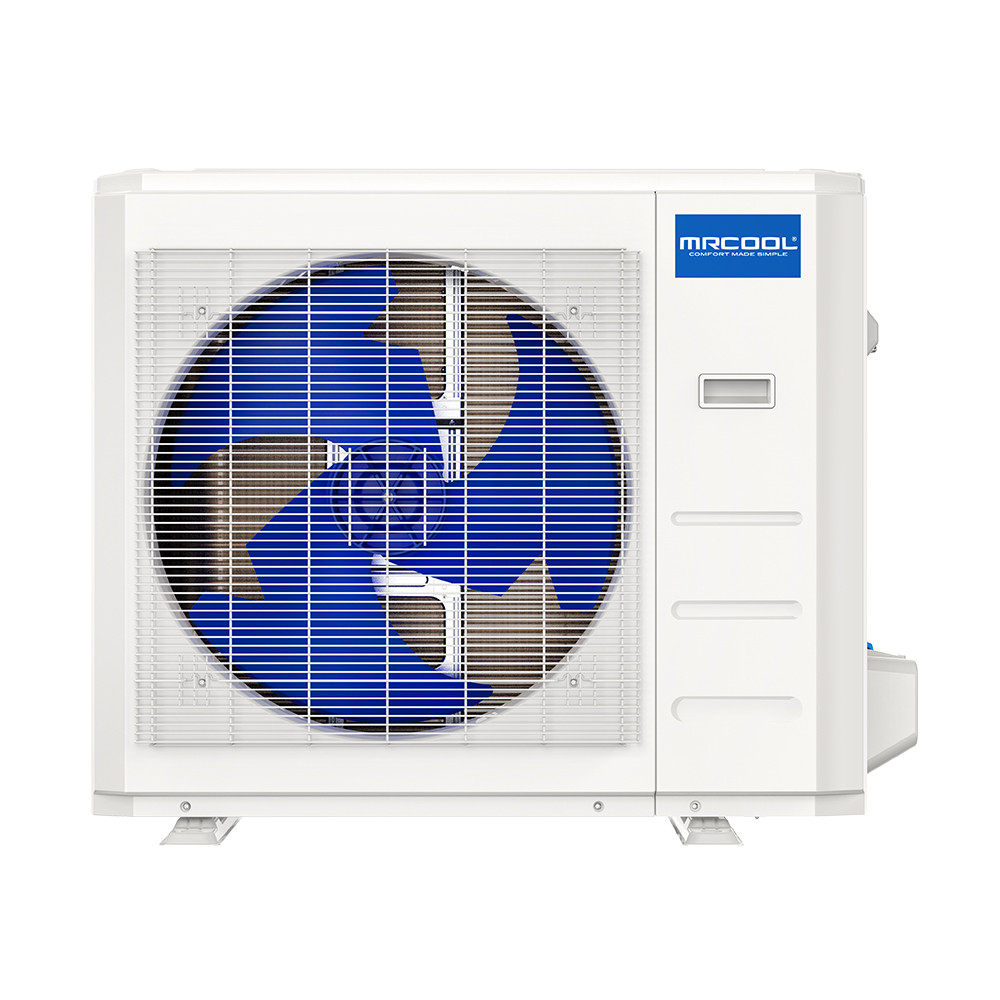
Outdoor unit (condenser):
- Clear debris — Remove leaves, grass clippings, and dirt from around the outdoor unit. Maintain at least 24 inches of clearance on all sides.
- Clean condenser coils — Use a garden hose to spray the coils from the inside out (spray outward through the fins). Don't use a pressure washer — the fins are delicate.
- Straighten bent fins — If any fins are bent, use a fin comb (available for $5-$10) to gently straighten them. Bent fins restrict airflow.
- Check the base — Make sure the unit is level and the mounting pad hasn't shifted
- Inspect electrical connections — Look for any visible damage to the wiring between the indoor and outdoor units
Indoor unit:
- Deep clean the evaporator coils using the coil cleaner method described above
- Run the system in cooling mode for 30 minutes and verify cold air output
- Check all zones if you have multiple indoor units
- Update your WiFi app if any firmware updates are available
Fall: Pre-Heating Season Prep
Before the heating season (October-November):
- Repeat the outdoor unit cleaning — fall leaves can accumulate quickly
- Test heating mode — Switch to heat and verify warm air output
- Check the defrost cycle — In heating mode, the outdoor unit will occasionally go into defrost mode to clear ice. This is normal and you should verify it's functioning.
- Inspect weatherproofing — Check that the wall penetration where the line set enters is properly sealed. Re-caulk if needed.
- Consider a cover for extreme climates — If you're in an area with heavy snowfall, a snow shelf above the outdoor unit prevents snow and ice from piling on top. Do NOT cover the unit with a full cover while it's operational — it needs airflow.
Annual Maintenance (1 Hour)
Professional Inspection (Recommended but Optional)
Once a year, consider having an HVAC professional perform a thorough inspection:
- Refrigerant level check — Low refrigerant reduces efficiency and can damage the compressor
- Electrical component testing — Capacitors, contactors, and wiring connections
- Compressor amp draw — Verifies the compressor is operating within specifications
- Blower motor inspection — Checks for bearing wear
- Complete system performance test — Measuring temperature split, airflow, and efficiency
Cost: $75-$150 for a standard inspection. Worth it for peace of mind, but many DIY homeowners skip this without issues for the first 5-7 years.
DIY Annual Deep Clean
If you prefer to handle everything yourself:
- Perform all quarterly maintenance tasks
- Remove and deep clean the blower wheel (indoor unit):
- Turn off power at the breaker
- Remove the front panel and filters
- Locate the blower wheel (cylindrical fan behind the evaporator coils)
- Use a long, narrow brush to clean between the blower fins
- Alternatively, use a steam cleaner for a thorough clean
- Inspect all mounting hardware — Ensure the indoor unit bracket is secure and level
- Check outdoor unit mounting bolts — Tighten if needed
- Test all operating modes — Cooling, heating, fan only, dry mode, and auto mode
Troubleshooting Common Issues
Unit Displays an Error Code
MrCool systems display error codes on the indoor unit. Common codes:
- E1/E2: Temperature sensor error — Check that no objects are blocking the sensor near the air intake
- E4: Defrost error — Usually clears itself. If persistent, check outdoor coil for ice buildup.
- F0/F1: Refrigerant issue — May need professional service
- H6: Indoor fan motor error — Check for obstructions
Consult your owner's manual for your specific model's error codes. Many clear themselves after you cycle the unit off and on.
Water Leaking from Indoor Unit
- Most common cause: Clogged condensate drain. Clear it using the bleach method above.
- Second cause: Dirty evaporator coil causing ice buildup that melts when the system cycles off. Clean the coils and filters.
- Third cause: Low refrigerant causing ice buildup. Requires professional service.
Musty Smell When System Starts
This usually means mold or mildew has grown on the evaporator coils or in the drain pan.
Fix:
- Run the system in fan-only mode for 30 minutes after each cooling session to dry the coils
- Clean the coils with an antimicrobial coil cleaner
- Pour diluted bleach through the condensate drain
- Enable the MrCool "dry mode" feature periodically in humid climates
Reduced Cooling or Heating Performance
In order of likelihood:
- Dirty filters — Clean them
- Dirty coils (indoor or outdoor) — Clean them
- Blocked outdoor unit — Clear debris and maintain clearance
- Low refrigerant — Professional service required
- Failing compressor — Professional diagnosis required (rare in first 10 years)
Maintenance Schedule Summary
| Task | Frequency | Time | DIY? |
|---|---|---|---|
| Clean filters | Monthly | 5 min | Yes |
| Sound/odor check | Monthly | 2 min | Yes |
| Clean evaporator coils | Quarterly | 15 min | Yes |
| Check condensate drain | Quarterly | 5 min | Yes |
| Clean outdoor condenser | Twice/year | 20 min | Yes |
| Test heating/cooling modes | Twice/year | 10 min | Yes |
| Deep clean blower wheel | Annually | 30 min | Yes |
| Professional inspection | Annually | 1 hour | Optional |
Supplies Checklist
Everything you need for a year of maintenance costs under $30:
- Soft-bristle brush or clean paintbrush
- No-rinse evaporator coil cleaner ($8-$12)
- Fin comb ($5-$10)
- Bleach (diluted for drain cleaning)
- Garden hose (for outdoor unit)
- Clean cloths
- Screwdriver set
Keep Your System Running Like New
A well-maintained MrCool mini split can last 15-20+ years with consistent performance. The monthly and quarterly tasks take almost no time, and the seasonal deep cleans are straightforward DIY projects.
For installation guides and maintenance tips, check out Zomg the Handyman for video walkthroughs.
Need a New System or Replacement Parts?
Browse the full MrCool 5th Gen lineup at HVACZAR and use promo code SUMMER100 for $100 off.
Share this article
Cut your energy bill for good
High-SEER2 inverter systems use a fraction of the power of what they replace — and may qualify for a 30% federal credit.
More on this topic: Cost & Savings
Keep Reading
Related Articles
MrCool Mini Split vs Window AC: Why Ductless Wins
Comparing MrCool DIY mini splits to window air conditioners on efficiency, noise, installation, and long-term value. See why ductless is the smarter investment.
How Much Does a Mini Split Cost? 2026 Pricing Guide
Complete 2026 mini split pricing guide covering equipment, installation, and operating costs. Learn what to budget for a MrCool DIY or professionally installed system.
Florida: MrCool for Humid Climates
Florida's relentless humidity demands HVAC systems built for moisture removal. Learn why mini splits excel in Miami, Tampa, Orlando, and Jacksonville.