
The Catalog · DIY Mini Splits
DIY Mini Splits.
Skip the $3,000 Install.
MrCool DIY and EasyPro mini splits are engineered for homeowners. Every system ships with pre-charged Quick Connect line sets — no vacuum pump, no refrigerant scale, no HVAC license. You hang the indoor unit, mount the outdoor condenser, snake the line set through your wall, hand-tighten the fittings, and run a dedicated electrical circuit. Most homeowners finish in 4-8 hours and save $1,500-$3,000 compared to a professional install. Below are our in-stock DIY systems.
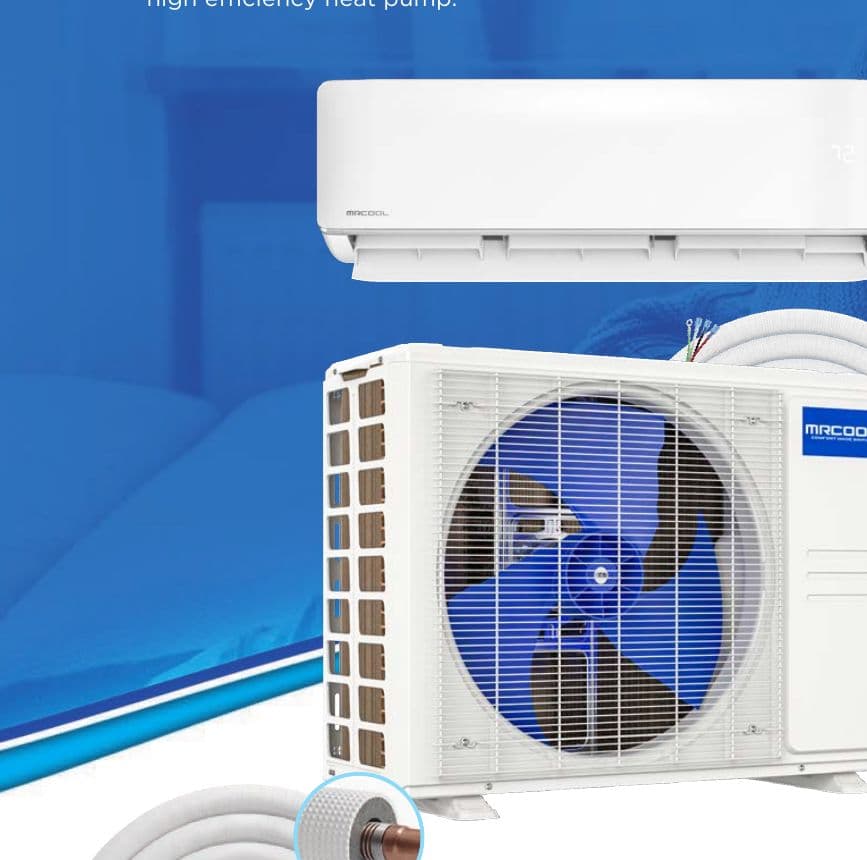
In Stock · Ships to All 50 States
In-Stock DIY Mini Splits — Ships to All 50 States
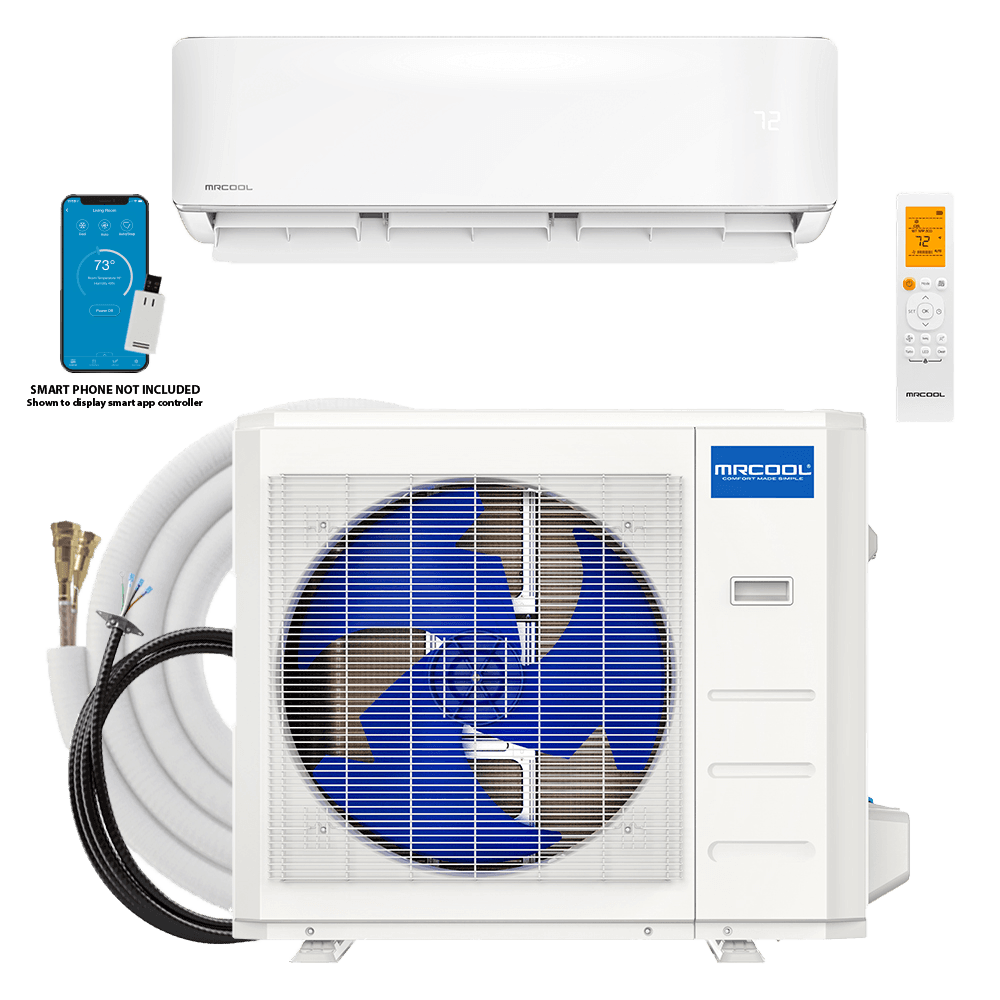
MRCOOL® 9k DIY 5th Generation Bundle - includes Condenser, Air Handler, DIY® Quick Connect® Line Set, DIYPRO® Cable, and Remote - 115V
Ships nationwide·In stock
MRCOOL® 12k DIY 5th Generation Bundle - includes Condenser, Air Handler, DIY® Quick Connect® Line Set, DIYPRO® Cable, and Remote - 115v
Ships nationwide·In stock
MRCOOL® 18k DIY 5th Generation Bundle - includes Condenser, Air Handler, DIY® Quick Connect® Line Set, DIYPRO® Cable, and Remote - 230v
Ships nationwide·In stock
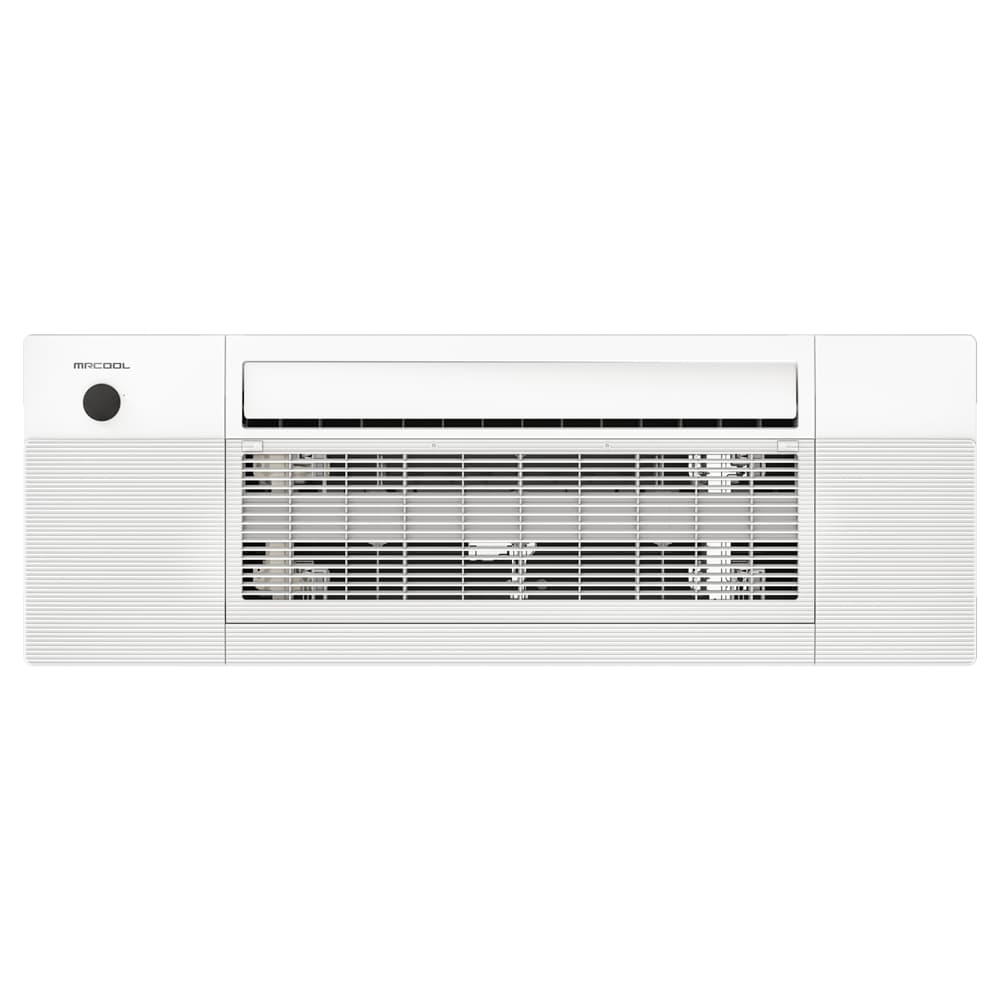
MRCOOL® DIY® Series 5th Gen OuttaSight® 18K BTU 230V One-Way Ceiling Cassette
Ships nationwide·In stock
MRCOOL® 24k DIY 5th Generation Bundle - includes Condenser, Air Handler, DIY® Quick Connect® Line Set, DIYPRO® Cable, and Remote - 230v
Ships nationwide·In stock
MRCOOL® 36k DIY 5th Generation Bundle - includes Condenser, Air Handler, DIY® Quick Connect® Line Set, DIYPRO® Cable, and Remote - 230v
Ships nationwide·In stock
MRCOOL® DIY® Series 5th Gen OuttaSight® 6K BTU 230V One-Way Ceiling Cassette
Ships nationwide·In stock
MRCOOL® DIY® Series 5th Gen OuttaSight® 9K BTU 230V One-Way Ceiling Cassette
Ships nationwide·In stock
MRCOOL® DIY® Series 5th Gen OuttaSight® 12K BTU 230V One-Way Ceiling Cassette
Ships nationwide·In stock
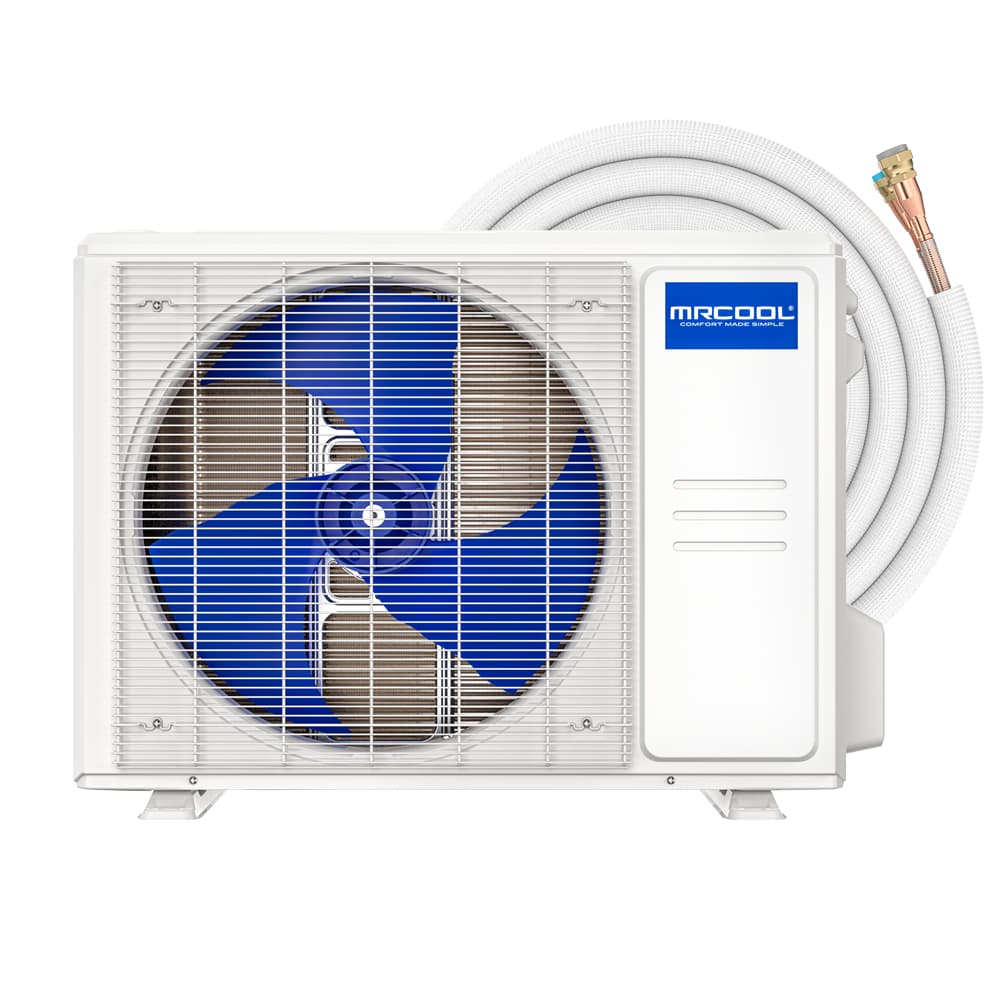
MrCool DIY Easy Pro 9k BTU Ductless Mini-Split Heat Pump System
Ships nationwide·In stock
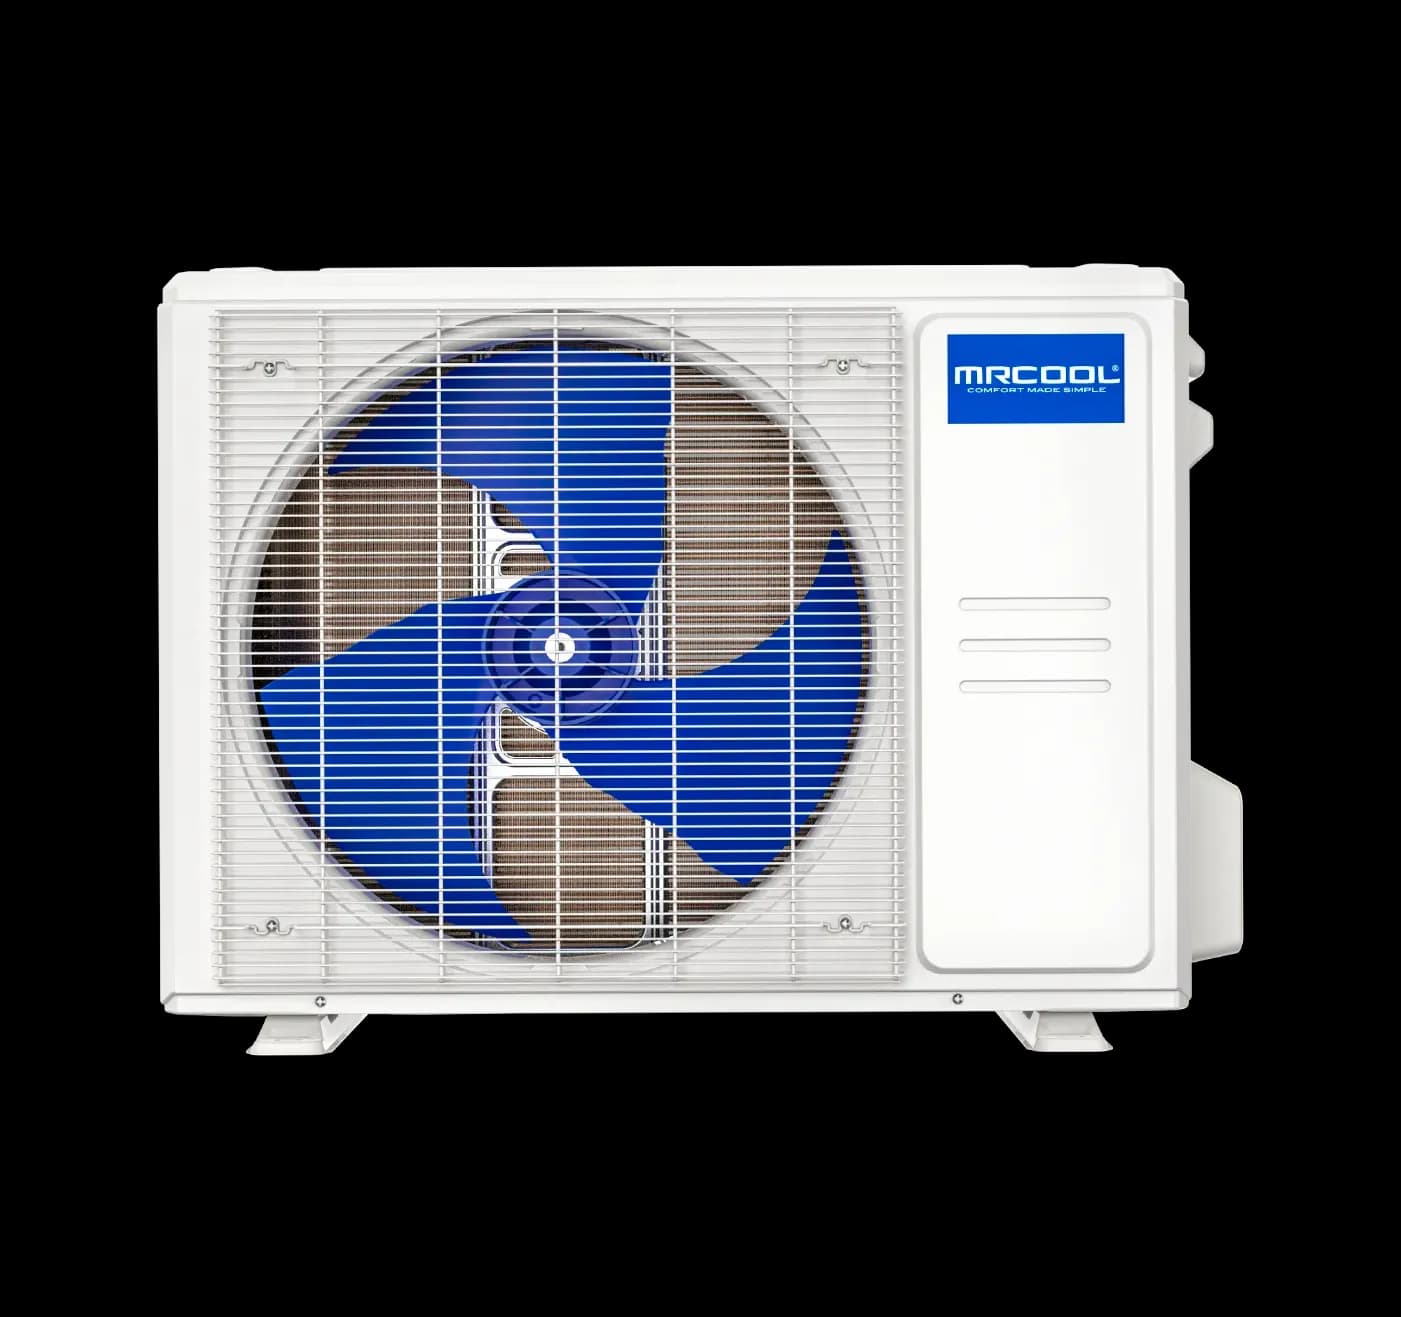
EasyPro 5th Generation 9k BTU 115V System
Ships nationwide·In stock
MrCool DIY Easy Pro 12k BTU Ductless Mini-Split Heat Pump System
Ships nationwide·In stock
Buying Guide
How to choose a DIY mini split
DIY mini splits are not all the same. Generation, BTU size, voltage, and cold-climate capability all matter. Here is how to pick the right one without overpaying.
DIY 5th Generation vs. 4th Generation
The 5th Generation (released 2024) uses R-454B refrigerant — better cold weather performance, lower global warming potential, and qualifies for stronger rebates. It includes WiFi out of the box and hits 22.5 SEER2. The 4th Gen is still excellent and usually $200-$400 cheaper. If you want the latest tech and rebate eligibility, go 5th Gen. If price is the priority and you live in a mild climate, 4th Gen still performs.
EasyPro vs. DIY Series
EasyPro is MrCool's newer DIY line with a simpler install (only 2 wires between indoor and outdoor unit, vs 4 on standard DIY) and improved aesthetics. DIY Series has a longer track record and more BTU options. Both use Quick Connect pre-charged lines and require no HVAC license.
Voltage: 115V vs 230V
9,000 and 12,000 BTU DIY units run on 115V (standard household outlet on a dedicated 15-20 amp circuit). 18K, 24K, and 36K BTU units run on 230V (same as a clothes dryer or electric range). Verify your panel has space for the breaker before buying. An electrician typically charges $200-$500 to add a dedicated circuit.
Cold climate? Get DIY Hyper Heat
Standard DIY units are rated to 5°F. DIY Hyper Heat models work down to -22°F and qualify for stronger federal/state rebates. If your winter design temp is below 20°F, the Hyper Heat upgrade pays for itself in heating performance and rebate dollars.
What the install actually involves
1) Mount indoor unit on interior wall (drill 3" hole through wall). 2) Mount outdoor condenser on a pad or wall bracket. 3) Snake the pre-charged line set + control cable through the wall hole. 4) Hand-tighten Quick Connect fittings on both ends (no torque wrench, no flaring). 5) Wire the control cable. 6) Have an electrician add a dedicated circuit + disconnect box (or DIY if you are licensed). 7) Open the service valves to release refrigerant from the pre-charged lines into the system. 8) Power on, configure WiFi, run cooling/heating modes. Total time: 4-8 hours for an experienced DIYer.
At a Glance
DIY mini split vs professional install
What you save and what you give up:
Swipe the table sideways to compare
| DIY (MrCool DIY) | Pro Install (any brand) | |
|---|---|---|
| Equipment cost | $899-$3,500 | $1,200-$5,000 |
| Installation labor | $0 (you install) | $1,500-$3,500 |
| Electrician for dedicated circuit | $200-$500 | $200-$500 |
| Total typical cost | $1,100-$4,000 | $3,000-$9,000 |
| HVAC license required | No | Yes |
| Vacuum pump / scale required | No (pre-charged) | Yes |
| Time to install | 4-8 hours | 4-6 hours (a tech) |
| Manufacturer warranty | 7 years (registered) | 7-10 years |
Frequently Asked
Common questions
Is a DIY mini split really DIY?+
Yes — the refrigerant work is. MrCool DIY and EasyPro systems ship with pre-charged Quick Connect line sets, so no vacuum pump, no refrigerant handling, no HVAC license. You will still need a dedicated electrical circuit and disconnect box, which most homeowners hire an electrician for ($200-$500). The HVAC portion takes 4-8 hours of straightforward labor.
Do I need an HVAC license to install a DIY mini split?+
No. Federal EPA Section 608 requires a license to handle refrigerant — but pre-charged DIY systems do not require any refrigerant handling. The refrigerant stays sealed inside the line set until you open the service valves, which is not regulated. Local building permits may still be required (varies by jurisdiction).
How much does a DIY mini split save vs hiring a contractor?+
Typical savings are $1,500-$3,500 in labor. A contractor will quote $3,000-$5,000 to install a 12K BTU mini split (equipment + labor + permits). The same DIY 12K system from HVACZAR is $899-$1,400, plus $200-$500 for an electrician. Net savings: $1,500-$3,000.
Will my home insurance cover a DIY mini split install?+
Generally yes, as long as the install is permitted (where required), the unit is a UL-listed product (all MrCool models are), and the electrical work is done by a licensed electrician or you. Refrigerant work on a pre-charged DIY system is not regulated. Some insurers ask for an inspection — check with your provider.
How long does a DIY mini split installation take?+
For an experienced DIYer with the right tools (drill, hole saw, level, electrical experience): 4-6 hours. For a first-timer: 6-10 hours over a weekend. The most time-consuming step is usually drilling the wall pass-through and routing the line set. Quick Connect fittings hand-tighten in seconds.
What tools do I need to install a DIY mini split?+
Basic tools: cordless drill, 3" hole saw bit, level, stud finder, 1/2" wrench, philips screwdriver, wire strippers. No vacuum pump, no refrigerant gauges, no flaring tool — those are NOT required for pre-charged DIY systems. Most homeowners already have these tools.
Does a DIY install void the warranty?+
No — MrCool DIY systems are designed for homeowner installation and the 7-year warranty is fully valid when properly installed and registered. Damage from incorrect installation (overtightening fittings, wrong wiring) is not covered, but that is true of pro installs too.