
Hurricane Season HVAC Prep: Protect Your Condenser
Hurricane season threatens your outdoor HVAC equipment. Learn how to protect your condenser before, during, and after a storm to avoid costly damage.
Admin User
Author
Hurricane Season HVAC Prep: Protect Your Condenser
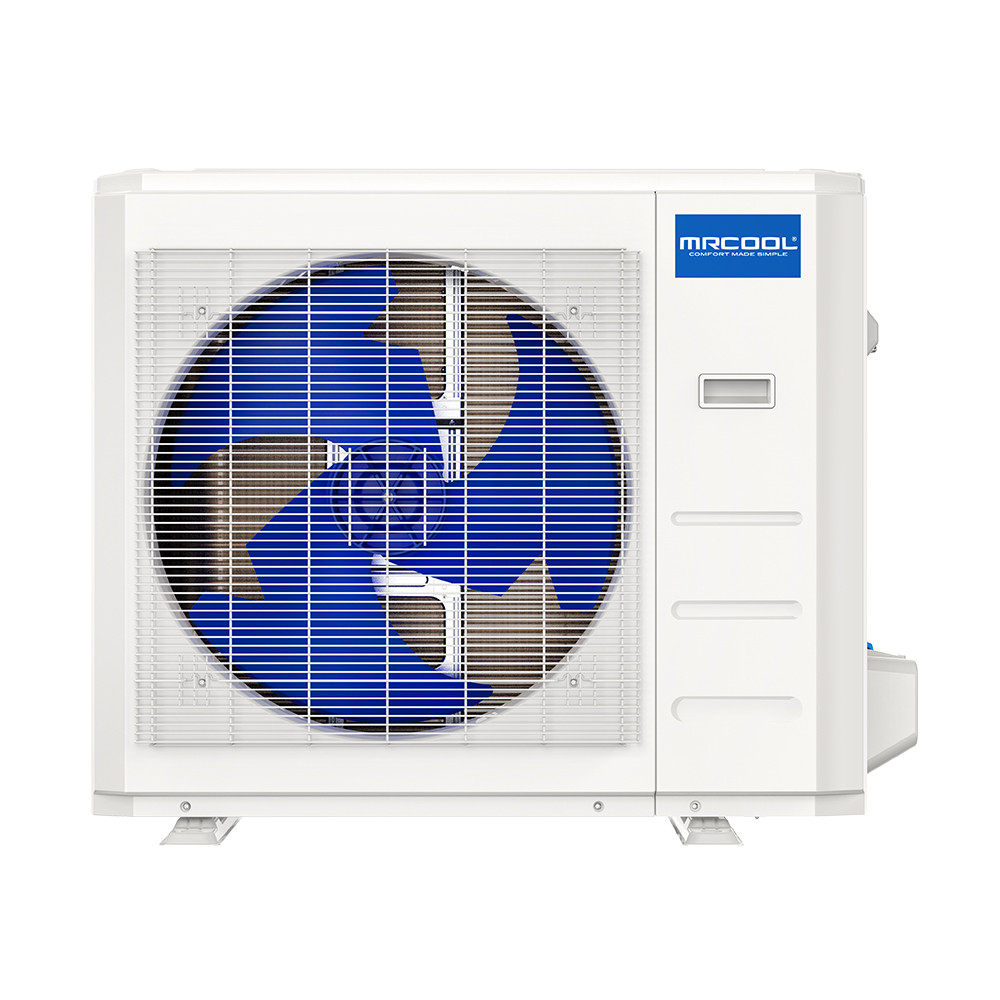
Hurricane season runs June through November, and if you live along the Gulf Coast, Atlantic seaboard, or anywhere in the storm-prone Southeast, your outdoor HVAC condenser is one of the most vulnerable — and most expensive — pieces of equipment on your property.
A new condenser costs $2,000-$5,000+ to replace. Protecting it takes a few hours of preparation. Here's your complete guide to hurricane-proofing your HVAC system.
Why Condensers Are Vulnerable
Your outdoor condenser unit sits exposed to the elements year-round. During a hurricane, it faces multiple threats:
Wind Damage
- Flying debris strikes the unit, denting fins and damaging components
- Airborne objects (branches, lawn furniture, building materials) can destroy a unit entirely
- Wind uplift can shift or topple units not properly anchored
Water Damage
- Storm surge and flooding submerge electrical components
- Standing water corrodes wiring connections and circuit boards
- Debris-laden floodwater clogs coils and moving parts
Power Issues
- Power surges when electricity is restored after outage can fry compressors, capacitors, and control boards
- Brown-outs (low voltage) during storm recovery force compressors to work harder and overheat
- Lightning strikes can travel through power lines to your equipment
Pre-Hurricane Season Preparation (Do Once Per Year)
These tasks should be completed before hurricane season begins in June:
Anchor Your Unit
Most residential condensers sit on a concrete pad with basic mounting. For hurricane zones, upgrade the anchoring:
- Hurricane straps: Metal straps bolt through the concrete pad and over the unit, securing it against wind uplift. Available at home improvement stores for $30-$50.
- Concrete pad inspection: Check that the pad is level, uncracked, and at least 4 inches thick. Replace deteriorated pads.
- Bolt-down kits: Some manufacturers offer bolt-down brackets specific to their units. Contact MrCool support for options.
Trim Surrounding Trees
The #1 cause of condenser damage during hurricanes is falling trees and branches:
- Remove dead or dying trees within 20 feet of the unit
- Trim branches that overhang or are near the unit
- Remove palm fronds that could become projectiles
- Clear any loose objects from the yard that could become wind-borne debris
Install a Surge Protector
A whole-house surge protector ($200-$300 installed at your electrical panel) protects your HVAC and all other electronics from power surges when electricity is restored after a storm. This is one of the best investments a homeowner in a hurricane zone can make.
For additional protection, install a dedicated HVAC surge protector at the disconnect box near the condenser ($50-$100 installed).
Document Your Equipment
Before a storm threatens:
- Photograph your entire HVAC system — indoor units, outdoor units, model numbers, serial numbers
- Save receipts and warranty documentation digitally (cloud storage)
- Note the model and serial numbers in your phone
- Review your homeowner's insurance policy for HVAC coverage limits and deductibles
This documentation speeds insurance claims if damage occurs.
When a Hurricane Is Approaching (48-72 Hours Out)
Turn Off Your System
When the storm is imminent:
- Turn off the HVAC system at the thermostat or remote control
- Turn off the dedicated breaker for the outdoor unit at your main electrical panel
- Turn off the disconnect at the outdoor unit
This protects against power surges during the storm and prevents the system from trying to start during brown-outs.
Secure or Cover the Outdoor Unit
Debate: To cover or not to cover?
Most HVAC professionals recommend against covering the unit with a tarp or plywood during a hurricane because:
- Covers can trap moisture, causing more corrosion damage than the storm itself
- Improperly secured covers become additional projectiles
- Covers give a false sense of security against truly severe debris impact
What to do instead:
- Clear all loose objects from around the unit (patio furniture, potted plants, yard decor)
- Remove the disconnect box cover and seal the opening with a plastic bag and zip ties to prevent water intrusion into the electrical connection
- Place sandbags around the base if flooding is expected — but not against the unit (they can damage fins and panels)
- If you have plywood: Screw it to the fence or wall NEAR the unit as a wind break, rather than covering the unit directly
Protect the Indoor Unit
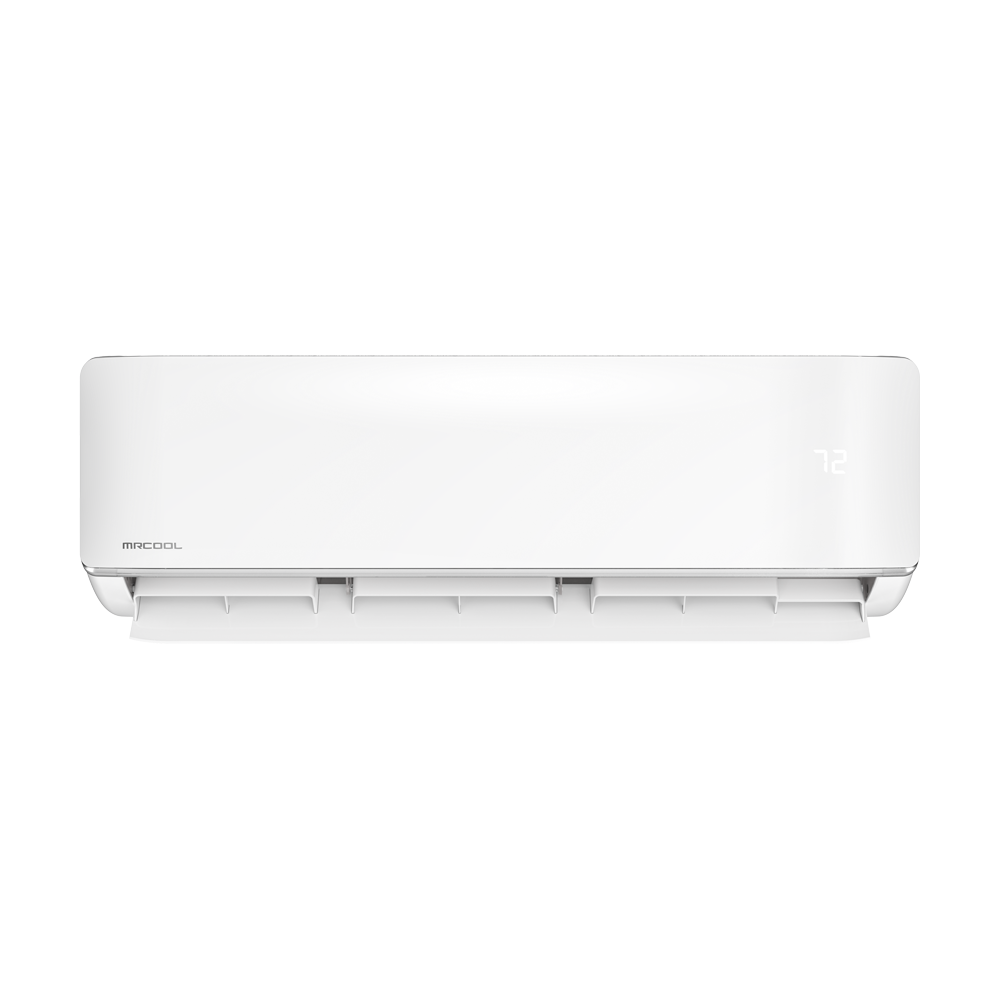
- Mini splits: No special preparation needed for wall-mounted indoor units
- Central air: If flooding is possible in your home, turn off the air handler at the breaker and consider elevating or removing the blower motor and electronics if you have time
Elevate if Flooding Expected
For areas prone to storm surge or flooding:
- Ideal condenser height: 2-3 feet above the expected flood level
- Permanent solution: Install condenser on an elevated platform or wall bracket
- Wall-mounted option: MrCool condensers can be mounted on wall brackets, getting them several feet off the ground permanently. This is the best long-term solution for flood-prone areas.
After the Storm: Recovery Steps
Do NOT Immediately Turn On Your System
This is the most important post-storm rule. Turning on a damaged or flooded system can cause further damage, electrical shock, or fire.
Inspection Checklist
Step 1: Visual inspection (before touching anything)
- Is the outdoor unit still upright and on its pad?
- Is there visible damage to the cabinet, fan, or coils?
- Are refrigerant lines still intact and connected?
- Is there standing water around or inside the unit?
- Has debris impacted the unit?
- Is the disconnect box intact?
Step 2: Flood assessment
If the outdoor unit was submerged or partially flooded:
- Do NOT turn on the system. Call a qualified HVAC technician.
- Floodwater contaminates electrical components, lubricants, and can deposit sand/silt inside the unit
- A flooded compressor may need replacement — running it can cause catastrophic failure
- The electrical connections may be compromised and could cause fire or shock
Step 3: Non-flood damage assessment
If the unit wasn't flooded but shows wind or debris damage:
- Clear all debris from around and inside the unit
- Check that the fan blade spins freely (by hand, with power OFF)
- Inspect refrigerant lines for kinks, dents, or disconnections
- Check for oil stains indicating refrigerant leaks
- Straighten bent fins with a fin comb if damage is minor
- Inspect the line set cover (if installed) for damage or displacement
Restarting Your System
Only after passing the visual inspection and confirming no flooding:
- Clear all debris from around the unit (24-inch clearance minimum)
- Restore power at the main breaker first
- Wait 24 hours after power restoration before turning on the HVAC — this allows the compressor's crankcase heater to warm the oil and prevent liquid slugging
- Turn on the disconnect at the outdoor unit
- Set the system to cooling and monitor for 30 minutes
- Listen for unusual sounds — grinding, squealing, or loud clicking
- Verify cooling/heating output — air should be noticeably cold/warm from the indoor unit within 5-10 minutes
- Check for water leaks from the indoor unit
When to Call a Professional
Call an HVAC technician if:
- The unit was submerged in any amount of floodwater
- Refrigerant lines are visibly damaged or disconnected
- The compressor makes unusual sounds or won't start
- The fan blade is bent, broken, or won't spin
- Electrical components are visibly damaged
- The system runs but produces no cooling/heating
- You see ice forming on the refrigerant lines
Long-Term Storm Resilience
Elevated Installation
For new mini split installations in hurricane zones, consider:
- Wall-mounted condenser brackets: Elevate the unit 3-4 feet off the ground, above typical flood levels
- Protected location: Install on the leeward side of the building (opposite the prevailing storm direction — typically north or west for Atlantic hurricanes)
- Near building corners: Corners are structurally stronger than mid-wall locations
Mini Splits vs. Central Air in Hurricane Zones
Mini splits have several advantages in hurricane-prone areas:
- Easier to elevate: Lighter units can be wall-mounted at height
- No ductwork damage: Central air ducts in attics are vulnerable to roof damage and water intrusion
- Multiple units = redundancy: If one mini split is damaged, others continue operating
- Faster recovery: A single mini split can be replaced in hours; a central air system takes days
- Lower replacement cost: A mini split condenser is $800-$2,000 vs. $2,000-$5,000 for a central air condenser
Insurance Considerations
- Document pre-storm condition with dated photos
- Standard homeowner's insurance typically covers wind damage to HVAC equipment
- Flood insurance is required for flood damage coverage (standard policies exclude flood)
- Deductibles: Many coastal policies have separate, higher wind/hurricane deductibles
- Replacement vs. ACV: Ensure your policy covers replacement cost, not actual cash value (depreciated)
Stay Cool After the Storm
Storms are stressful enough without losing your cooling system. Proper preparation significantly reduces the risk of HVAC damage, and knowing the recovery steps gets you back to comfort faster.
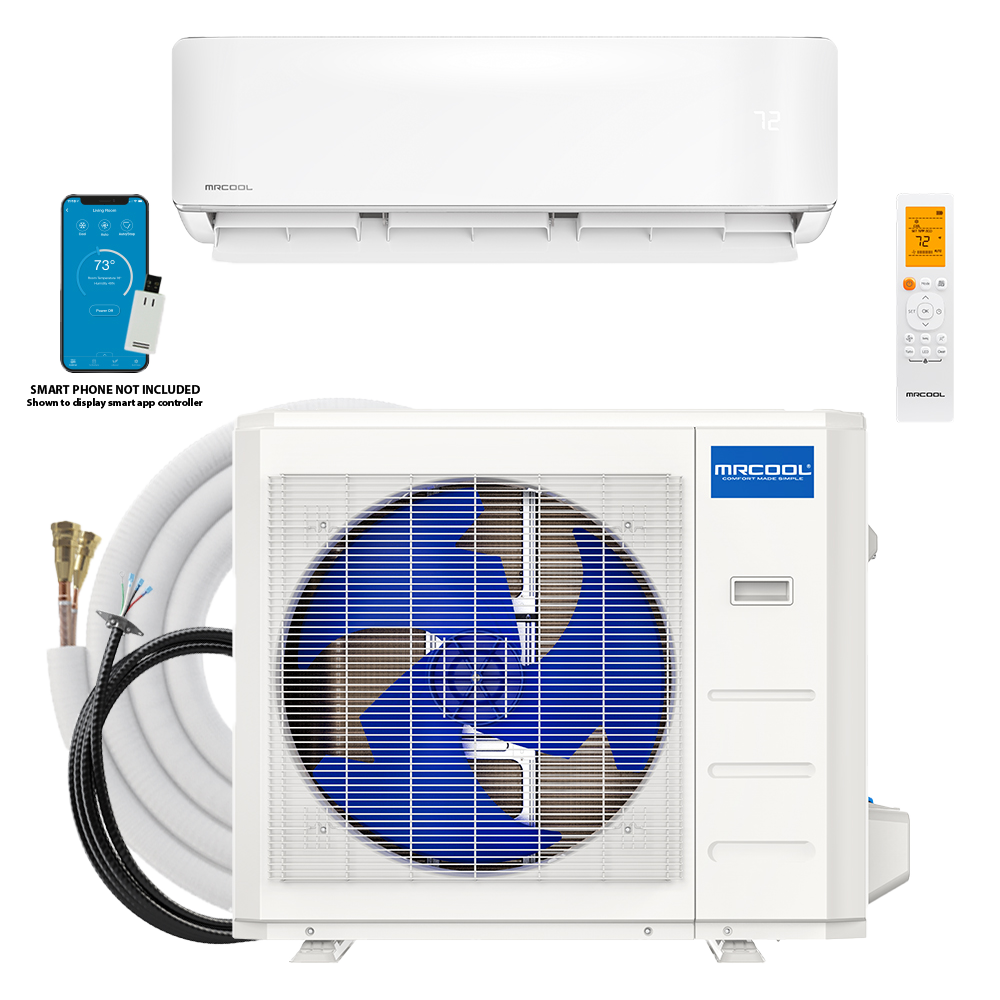
If your pre-storm inspection reveals that your current system is aging and vulnerable, consider upgrading to a MrCool 5th Gen DIY mini split. The wall-mounting option for condensers provides natural flood protection, and the system's efficiency reduces your reliance on the power grid during recovery.
Use promo code SUMMER100 for $100 off at HVACZAR.
Share this article
Get ahead of the season
Systems ship in 1–3 days — beat the rush before the weather turns.
More on this topic: Buying Guides
Keep Reading
Related Articles
Florida: MrCool for Humid Climates
Florida's relentless humidity demands HVAC systems built for moisture removal. Learn why mini splits excel in Miami, Tampa, Orlando, and Jacksonville.
Winter Heat Pump Guide: Sub-Zero Performance
Can heat pumps really work in sub-zero temperatures? Yes. This guide covers cold-climate heat pump technology, real-world performance data, and the best systems for harsh winters.
Best Time to Buy a Mini Split: Seasonal Pricing
Mini split prices fluctuate throughout the year. Learn when to buy for the best deals, when installers are cheapest, and how to time your purchase perfectly.