
How Zomg the Handyman Installs MrCool Mini Splits
Pro tips and techniques from Zomg the Handyman — the approach, the tools, and the workflow that make every MrCool DIY install smooth and professional-looking.
Admin User
Author
Meet the Installer
If you've spent any time in the DIY HVAC space, you've probably come across Zomg the Handyman. With dozens of MrCool installations under his belt — from studio apartments to detached garages to whole-home multi-zone setups — Zomg has refined a workflow that consistently delivers clean, professional results in under four hours.
This isn't a basic how-to guide (we have one of those). This is a look at the specific techniques, tool preferences, and decision-making process that separates a competent install from one that looks like it was done by a pro.
The Pre-Install Walkthrough
Before any tools come out, Zomg spends 15-20 minutes walking the space with the homeowner. This assessment covers:
Indoor Location Scouting
"Most people default to putting the air handler on whatever wall is most convenient," Zomg explains. "But convenient and optimal aren't always the same thing." His checklist:
- Airflow path: The unit should blow into the room, not at a wall. Corner placement often works better than center-wall because it lets air circulate in a natural loop.
- Stud location: He checks studs first because that determines exact placement more than anything else. A mounting plate that only catches drywall anchors is asking for trouble.
- Line set routing: The shortest path through an exterior wall wins. Every extra foot of line set is a potential efficiency loss and a cosmetic challenge.
- Aesthetics: Where will the unit be least visually intrusive? Above a doorway, in a corner above a bookshelf — these are the placements that homeowners appreciate six months later.
Outdoor Location Assessment
The condenser needs airflow, stability, and accessibility for maintenance. Zomg looks for:
- A north or east-facing wall when possible — less direct sun means less work for the compressor during cooling season.
- Elevation: He prefers wall-mounting the condenser or using a stand that lifts it 6-12 inches off the ground. This keeps it above snow lines, reduces debris intake, and makes servicing easier.
- Noise consideration: Bedrooms on the other side of the wall? Move the condenser further along the exterior or to a different wall entirely.
Tool Kit: What Zomg Carries
Beyond the basics (drill, level, wrenches), here's what Zomg adds to his standard toolkit:
- Impact driver: Faster than a drill/driver for lag bolts into studs and concrete anchors.
- Line set cover kit: These aren't included with MrCool bundles, but they transform an exposed line set running down an exterior wall from an eyesore into a clean channel. About $40-$60 for a basic kit.
- Second hole saw (4.5-inch): The manual calls for a 3-inch hole, but Zomg often uses a slightly larger hole when running the line set, drain, and communication wire together. More room means less fighting. He seals the extra space with expanding foam and then caulks over it.
- Condensate pump: Not always needed, but when the indoor unit sits below the outdoor unit's drain connection — like a basement install — gravity won't clear the condensate. A small pump ($30-$50) solves this.
- Digital multimeter: For verifying voltage at the disconnect and confirming wiring before powering on.
The Workflow: Zomg's Exact Order of Operations
Phase 1: Indoor Prep (30 minutes)
- Mark the mounting plate position with a pencil.
- Drive screws into studs — he uses three-inch structural screws, not the included hardware. "The included screws are fine, but I sleep better knowing it's overkill."
- Verify level on the plate. Twice.
- Drill the wall penetration. He drills from inside, angling down about 5 degrees.
Phase 2: Line Set and Drain (45 minutes)
- Remove the air handler from the box and pre-connect the line set fittings on the indoor side before hanging the unit. This is a key Zomg technique: "It's way easier to make the connections with the unit on the floor than while you're on a ladder holding it against a wall."
- Feed the line set, drain, and communication wire through the wall.
- Hang the air handler on the bracket.
- Route everything down the exterior wall, using clips every 24 inches.
Phase 3: Outdoor Unit (45 minutes)
- Position the condenser on its pad or bracket.
- Connect the line set — same click-connect process.
- Wire the communication cable (color to color, terminal to terminal).
- Install the disconnect box if one isn't already present.
- Run the whip from disconnect to condenser.
Phase 4: Finish and Test (30 minutes)
- Seal the wall penetration — interior and exterior. Zomg uses a two-step process: expanding foam to fill the gap, then silicone caulk over the top for a clean look.
- Install the line set cover on the exterior.
- Open the service valves.
- Power on and test in both cooling and heating modes.
- Connect the unit to WiFi via the SmartHVAC app.
- Walk the homeowner through the remote control and app.
Zomg's Golden Rules
After doing this repeatedly, he's distilled his advice into a few non-negotiables:
- "Measure twice, drill once." The wall hole is permanent. Take your time.
- "Level isn't optional." An unlevel indoor unit causes uneven condensate drainage, which leads to water leaks.
- "Seal like your heating bill depends on it." Because it does.
- "Take photos of your wiring before closing everything up." If you ever need to troubleshoot or a warranty claim requires documentation, you'll be glad you did.
- "Don't rush the line set connections." The click should be definitive. If you're unsure, redo it.
Which System Does Zomg Recommend?
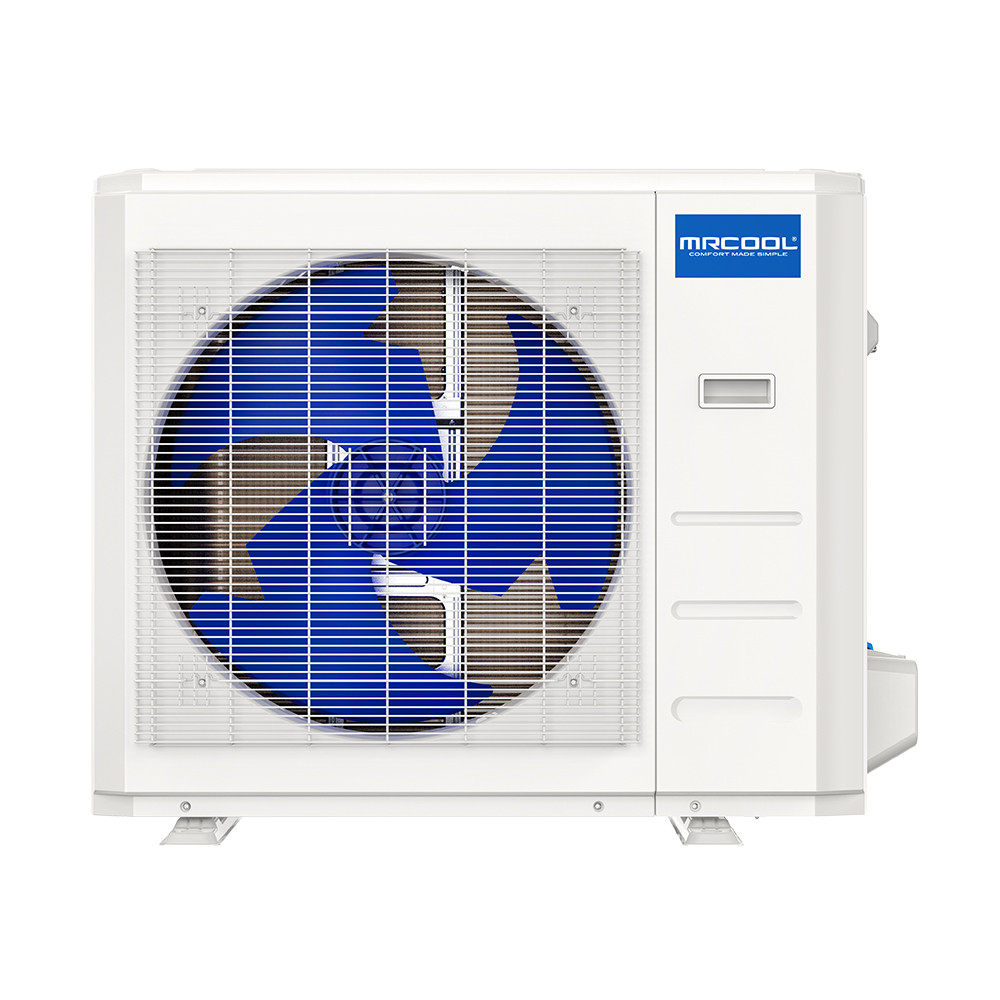
For most single-room installations, he defaults to the MrCool DIY 5th Gen 12K BTU Bundle. It covers the most common room sizes (250-450 sq ft), runs on a standard 115V circuit, and has the best balance of capacity to cost.
For garages and workshops, the 24K BTU Bundle is his go-to — the extra capacity handles large, poorly-insulated spaces and the wide operating temperature range works in both summer and winter.
For bedrooms where noise is a concern, the 9K BTU Bundle is whisper-quiet at 32 dB and perfectly sized for rooms under 250 square feet.
The Result
A Zomg install looks professional because it is professional — just done by one person with consumer-grade tools instead of a crew with a $50,000 vacuum rig. The MrCool DIY system makes this possible by engineering out the hardest parts of traditional HVAC installation.
Want the same results? Start with a MrCool DIY 5th Gen Bundle and follow the workflow above. Use code SUMMER100 to save $100.
Share this article
Get a system built for your exact install
Our configurator picks the right line-set lengths and accessories for your run, so nothing is missing on install day.
More on this topic: DIY Installation
Keep Reading
Related Articles
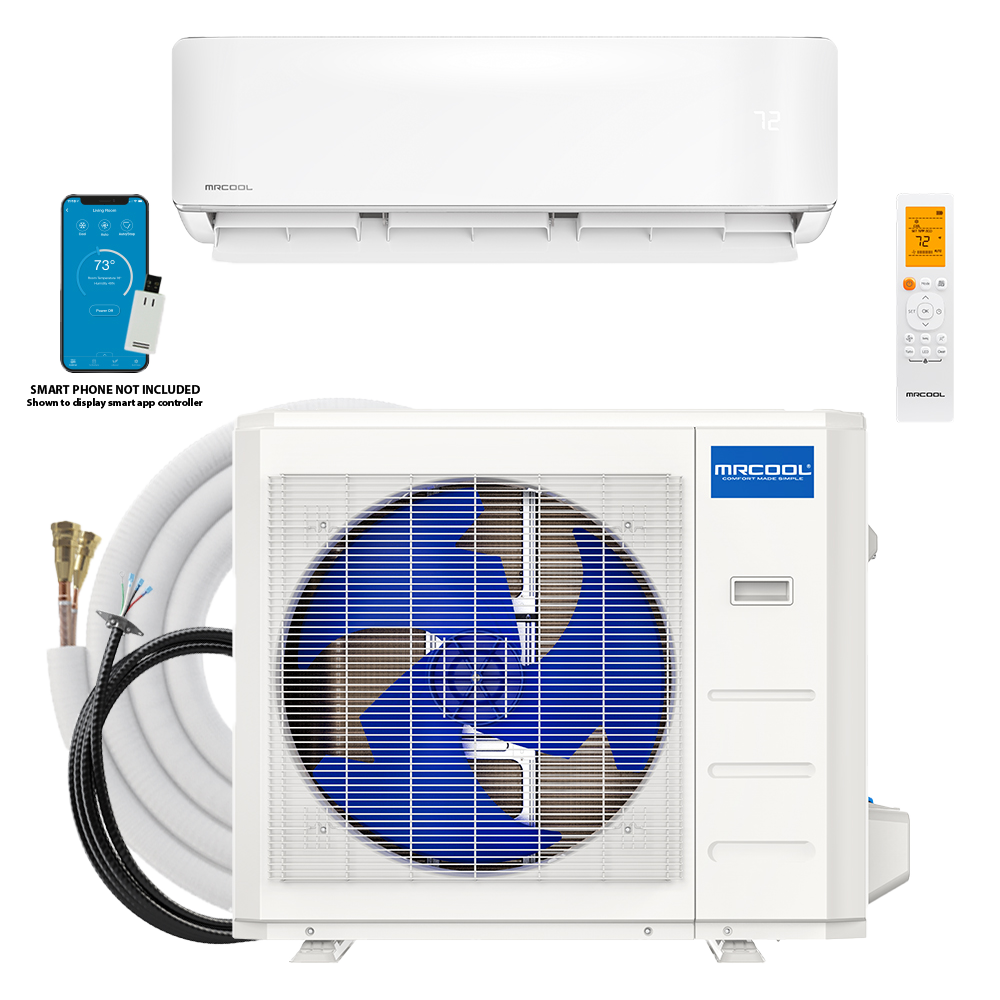
How to Install a MrCool DIY Mini Split in 4 Hours
A step-by-step walkthrough of a complete MrCool DIY 5th Gen mini split installation — from unboxing to cold air — in under four hours with no HVAC license required.
MrCool DIY 5th Gen vs 4th Gen: What Changed
A detailed comparison of MrCool's DIY 5th Generation and 4th Generation mini splits — what improved, what stayed the same, and whether it's worth upgrading.
First-Time Mini Split Install? Everything You Need to Know
Never installed HVAC before? This beginner-friendly guide covers everything from picking the right system to flipping the switch on your first MrCool mini split.