
First-Time Mini Split Install? Everything You Need to Know
Never installed HVAC before? This beginner-friendly guide covers everything from picking the right system to flipping the switch on your first MrCool mini split.
Admin User
Author
You Can Absolutely Do This
Let's get the big question out of the way: Yes, you can install a mini split yourself, even if you've never touched HVAC equipment. The MrCool DIY line was specifically engineered for homeowners — not technicians. There's no brazing, no refrigerant handling, and no specialized certifications required.
That said, "DIY-friendly" doesn't mean "zero preparation." This guide will walk you through everything a first-timer needs to know, from understanding what a mini split actually is to turning on your new system for the first time.
What Is a Mini Split, Exactly?
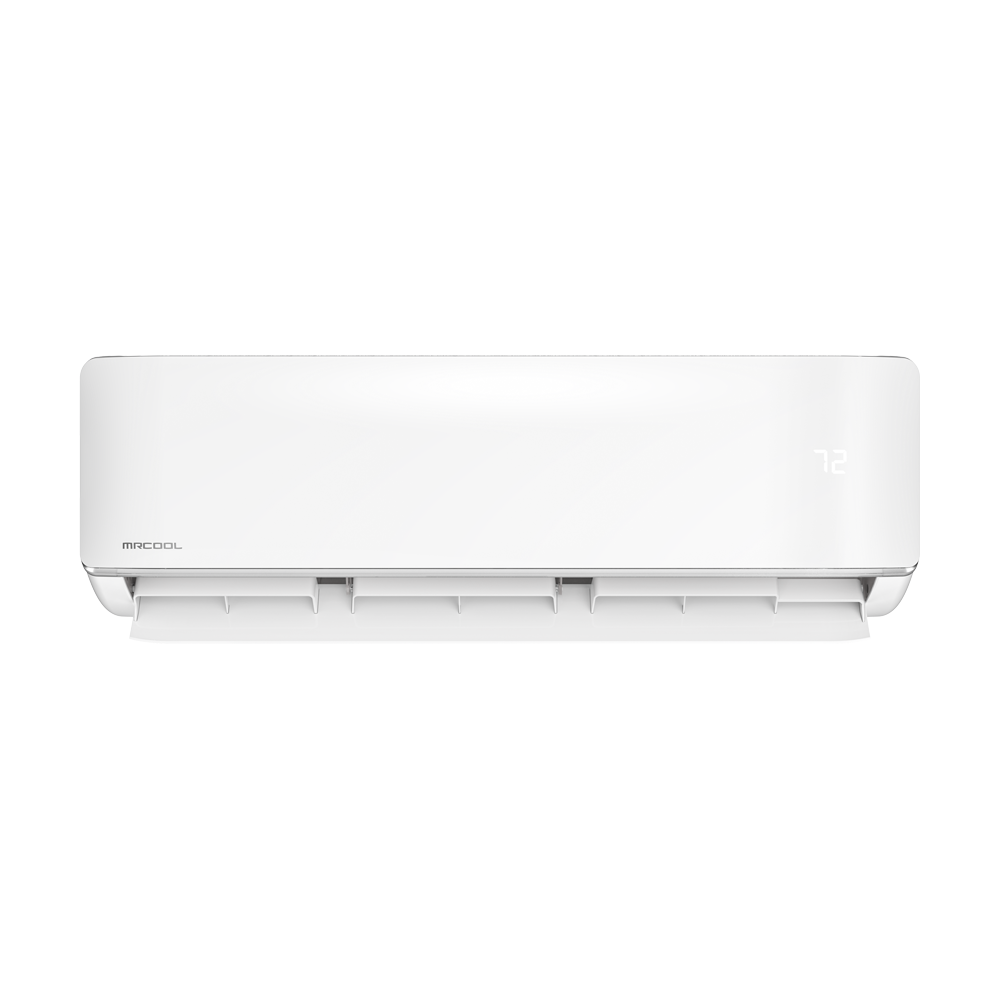
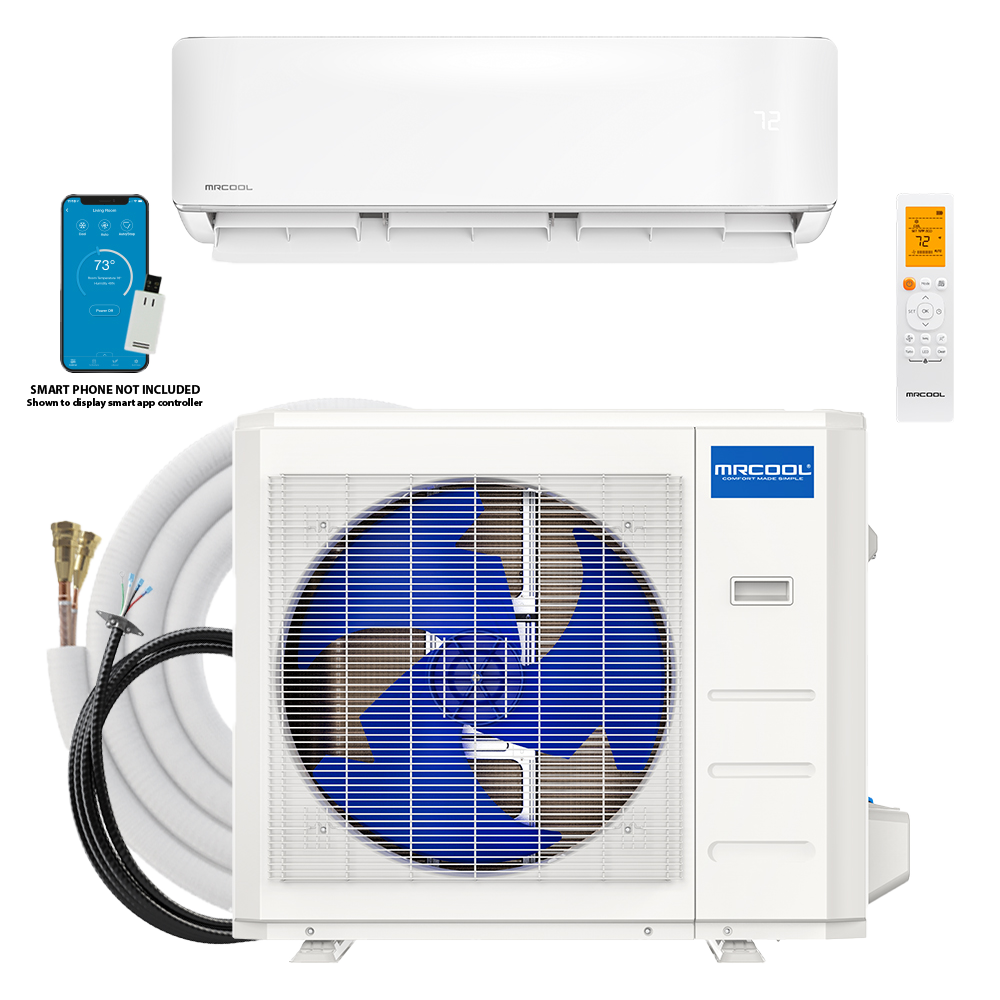
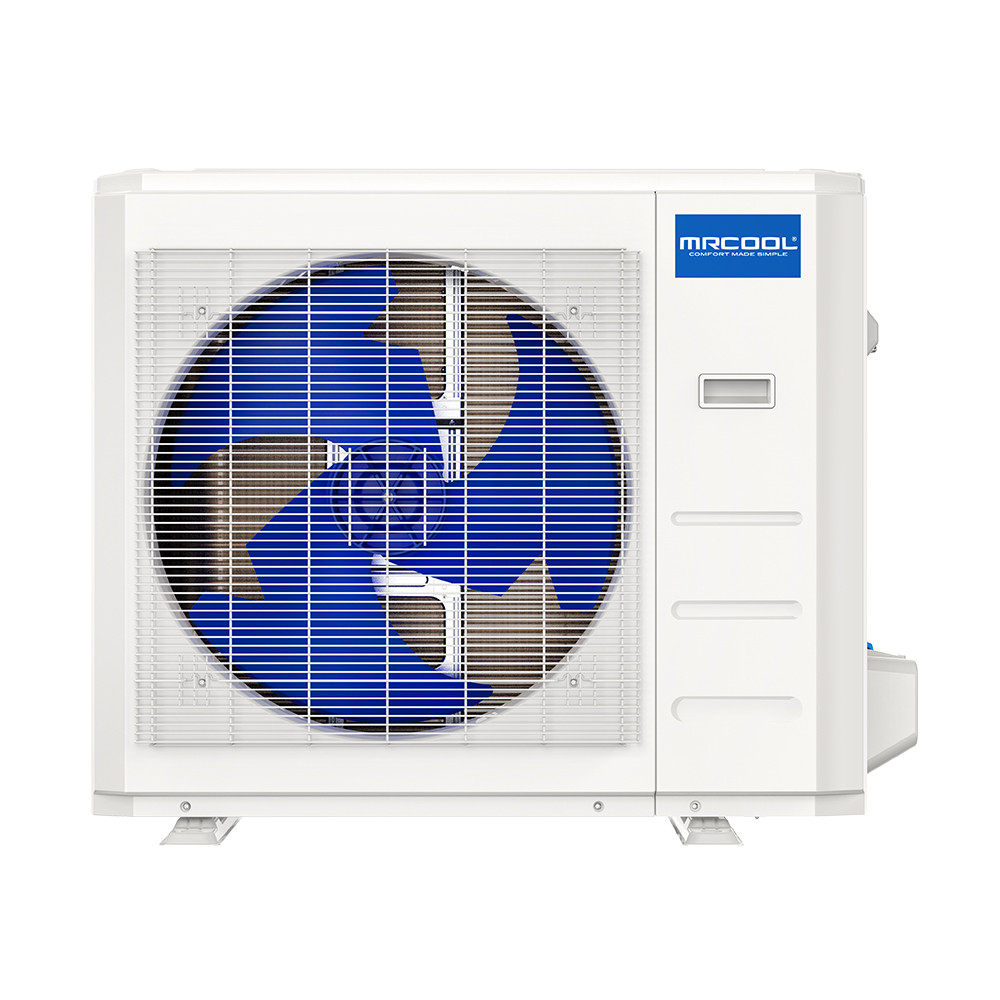
A mini split is a ductless heating and cooling system with two main components:
- Indoor air handler — mounts on your wall and blows conditioned air into the room.
- Outdoor condenser — sits outside and does the heavy lifting of heat exchange.
These two units are connected by a line set (copper tubing that carries refrigerant), a drain hose (for condensate), and a communication wire (so the units can talk to each other).
Unlike central air that pushes air through ducts, a mini split delivers conditioned air directly into the room. This makes them:
- More efficient — no energy lost in ductwork (which can waste 25-30% of cooling energy)
- Easier to install — no ductwork to design or build
- Better for zoning — each room gets its own thermostat
Why MrCool DIY?
Most mini splits require a licensed HVAC technician because you have to handle refrigerant — vacuum the lines, charge the system, check pressures. MrCool's DIY line eliminates all of that with pre-charged Quick Connect line sets. The refrigerant is already in the outdoor unit; the connections are pre-flared. You literally click them together.
Step 1: Pick Your Size
The most common mistake first-timers make is buying the wrong BTU size. Too small and the system runs constantly without reaching your set temperature. Too big and it short-cycles — turning on and off rapidly — which wastes energy and creates uncomfortable temperature swings.
Quick Sizing Guide
| Room / Area | Square Footage | Recommended BTU | Best Bundle |
|---|---|---|---|
| Small bedroom, office | 150-250 sq ft | 9,000 | 9K BTU Bundle |
| Master bedroom, large office | 250-450 sq ft | 12,000 | 12K BTU Bundle |
| Living room, open kitchen | 450-750 sq ft | 18,000 | 18K BTU Bundle |
| Large open floor plan | 750-1,100 sq ft | 24,000 | 24K BTU Bundle |
| Whole-floor coverage | 1,100-1,500 sq ft | 36,000 | 36K BTU Bundle |
These are baseline numbers for average insulation and 8-foot ceilings. Adjust upward if you have:
- Vaulted ceilings or ceiling height above 9 feet
- Large windows, especially south-facing
- Poor insulation
- Hot climate (Zone 1-2) where cooling load is extreme
Step 2: Gather Your Tools
You don't need anything exotic. Here's your complete tool list:
- Drill/driver with bit set
- 3-inch hole saw (for the wall penetration)
- Stud finder
- Torpedo level
- Adjustable wrench (two is ideal)
- Wire strippers
- Phillips and flathead screwdrivers
- Caulk gun with silicone or equivalent sealant
- Step ladder
- Tape measure
- Pencil
That's it. Every MrCool DIY bundle ships with the mounting plate, hardware, remote control, and Quick Connect line set. You don't need vacuum pumps, manifold gauges, flaring tools, or a torque wrench.
Step 3: Plan Your Layout
Before you pick up a drill, spend 20 minutes planning. You need to decide:
Where the indoor unit goes
- High on an interior wall, 6-8 inches below the ceiling
- Near an exterior wall (so the line set path through the wall is short)
- Away from direct sunlight or heat sources (stoves, ovens)
- Above furniture but not directly above electronics or beds where condensate could drip in a worst-case malfunction
Where the outdoor unit goes
- On a flat, stable surface (concrete pad, wall-mounted bracket, or ground-level stand)
- At least 12 inches of clearance on each side and 24 inches in front
- Away from dryer vents, garden debris, and areas prone to flooding
- Close enough that the included line set can reach (typically 16 or 25 feet)
The line set path
- Through the wall behind the indoor unit, dropping down (or running along) the exterior wall to the outdoor unit
- Use wall clips or a line set cover kit for a clean look
- Keep the path as short and direct as possible
Step 4: The Install (Abridged)
Here's the high-level flow. Each of these steps has details in the installation manual and in our full 4-hour install guide.
- Mount the indoor bracket using the included plate as a template. Level it. Screw into studs.
- Drill the wall hole at a slight downward angle (toward outside) for drainage.
- Feed the line set, drain hose, and communication wire through the hole.
- Hang the indoor unit on the bracket.
- Connect the line set to the indoor unit (click-connect fittings).
- Route to the outdoor unit and connect there too.
- Wire the communication cable following the color-coded diagram.
- Seal the wall hole with putty or caulk.
- Open the service valves on the outdoor unit to release refrigerant.
- Power on and test.
Step 5: Electrical Considerations
This is the one area where first-timers sometimes need professional help. Your mini split needs a dedicated electrical circuit — meaning a breaker in your panel that serves only this unit.
- The 9K and 12K models need a 115V, 20-amp dedicated circuit.
- The 18K, 24K, and 36K models need a 230V, 30-amp dedicated circuit.
You'll also need a disconnect box mounted near the outdoor unit. This is a code requirement in most areas and a safety best practice everywhere else.
If you're comfortable running a new circuit from your breaker panel, great. If not, this is a quick job for an electrician — usually $150-$300 — and it's the only part of the installation you might not do yourself.
Common First-Timer Questions
Do I need permits?
Depends on your jurisdiction. Many areas don't require permits for ductless mini splits, especially if you're not modifying electrical. Check with your local building department.
What if I mess up a line set connection?
The Quick Connect fittings are designed to be connected once. If you make a mistake, MrCool sells replacement line sets. Take your time and get it right the first time.
How long do mini splits last?
With proper maintenance (cleaning filters monthly, occasional coil cleaning), a MrCool mini split should last 15-20 years.
Can I install it in a rental property?
Mini splits are excellent for rentals because they don't require ductwork. However, you'll need landlord permission and the installation does involve drilling a hole in the wall.
What Zomg the Handyman Tells First-Timers
"Read the entire manual before you pick up a drill. The actual installation is straightforward, but understanding the full process before you start eliminates 90% of the stress. Also, have a helper for hanging the indoor unit — it's not heavy, but it's awkward."
Ready to Start?
The MrCool DIY 5th Gen Bundle is purpose-built for first-time installers. Everything ships in one box, the instructions are clear, and the Quick Connect system eliminates the hardest parts of traditional mini split installation.
Use code SUMMER100 at checkout to save $100 on your first system.
Share this article
Get a system built for your exact install
Our configurator picks the right line-set lengths and accessories for your run, so nothing is missing on install day.
More on this topic: DIY Installation
Keep Reading
Related Articles
How to Install a MrCool DIY Mini Split in 4 Hours
A step-by-step walkthrough of a complete MrCool DIY 5th Gen mini split installation — from unboxing to cold air — in under four hours with no HVAC license required.
MrCool DIY 5th Gen vs 4th Gen: What Changed
A detailed comparison of MrCool's DIY 5th Generation and 4th Generation mini splits — what improved, what stayed the same, and whether it's worth upgrading.
How Zomg the Handyman Installs MrCool Mini Splits
Pro tips and techniques from Zomg the Handyman — the approach, the tools, and the workflow that make every MrCool DIY install smooth and professional-looking.