
Prepare Your HVAC for Summer: Pre-Season Checklist
Get your cooling system ready for summer with this complete pre-season HVAC checklist. Simple DIY tasks that prevent breakdowns and maximize efficiency.
Admin User
Author
Prepare Your HVAC for Summer: Pre-Season Checklist
The worst time to discover your cooling system has a problem is the first 95°F day of summer — when every HVAC technician in your area is booked solid and emergency service rates kick in.
The best time to prepare? Right now. This pre-season checklist covers everything you need to do to ensure your cooling system runs efficiently and reliably all summer long. Most tasks take minutes, cost nothing, and can prevent hundreds or thousands of dollars in emergency repairs.
The Pre-Season Checklist
1. Test Your System Before You Need It
Don't wait until the first hot day. Turn on your cooling system on a mild spring day and let it run for 30 minutes.
What to check:
- Does it turn on within 1-2 minutes of setting the thermostat?
- Is cold air coming from the vents/air handler?
- Is the airflow strong and consistent?
- Are there any unusual sounds (grinding, clicking, banging)?
- Are there any unusual smells (musty, burning, chemical)?
- Does the outdoor unit's fan spin freely?
If any of these checks fail, schedule a service call now while technicians aren't in peak-season demand. You'll get faster service and potentially lower rates.
2. Clean or Replace Air Filters
This is the single highest-impact maintenance task for any HVAC system.
For central air systems:
- Replace disposable filters (1-inch filters monthly, 4-inch filters every 3-6 months)
- Choose filters rated MERV 8-12 for the best balance of filtration and airflow
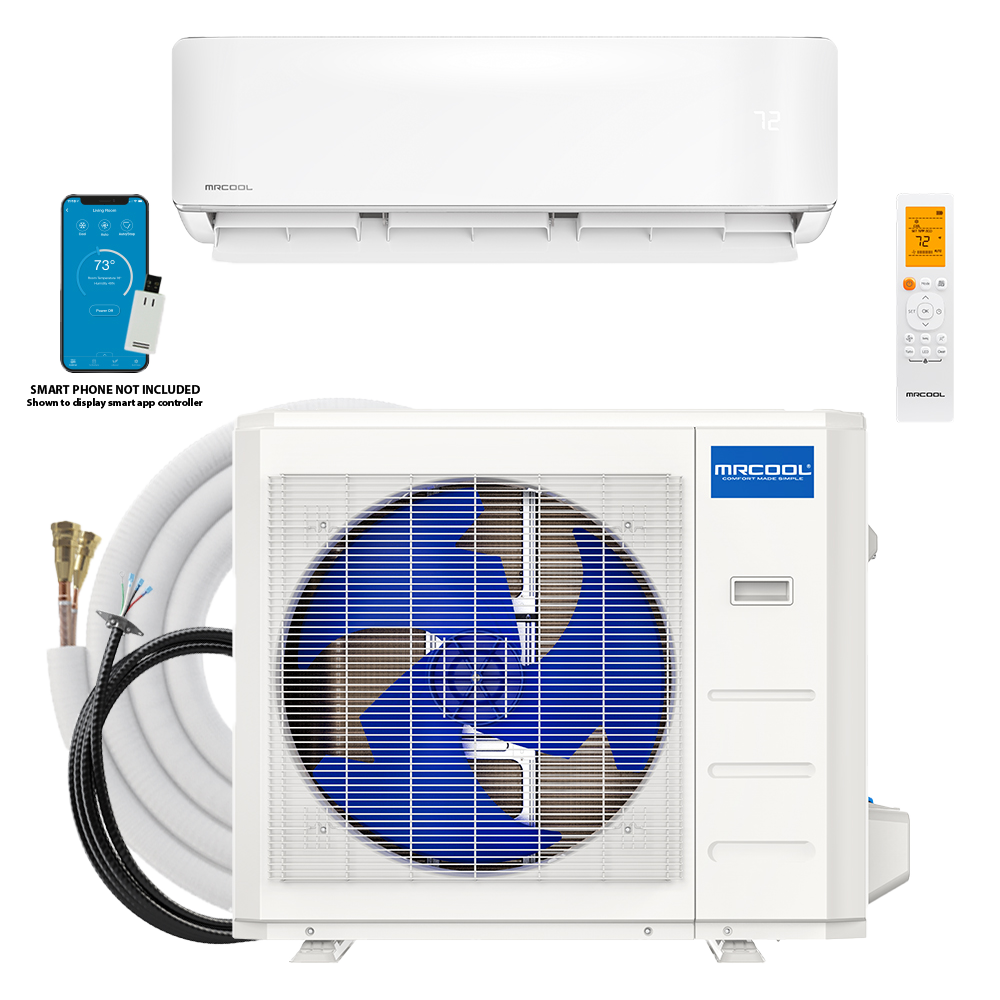
For MrCool mini splits:
- Remove the washable mesh filters from the indoor unit
- Rinse under warm water until clear
- Let air dry completely before reinstalling
- This takes 5 minutes and costs nothing
Why it matters: A dirty filter restricts airflow by 20-40%, forcing your system to work harder, run longer, and use more energy. It's the #1 preventable cause of efficiency loss and premature component failure.
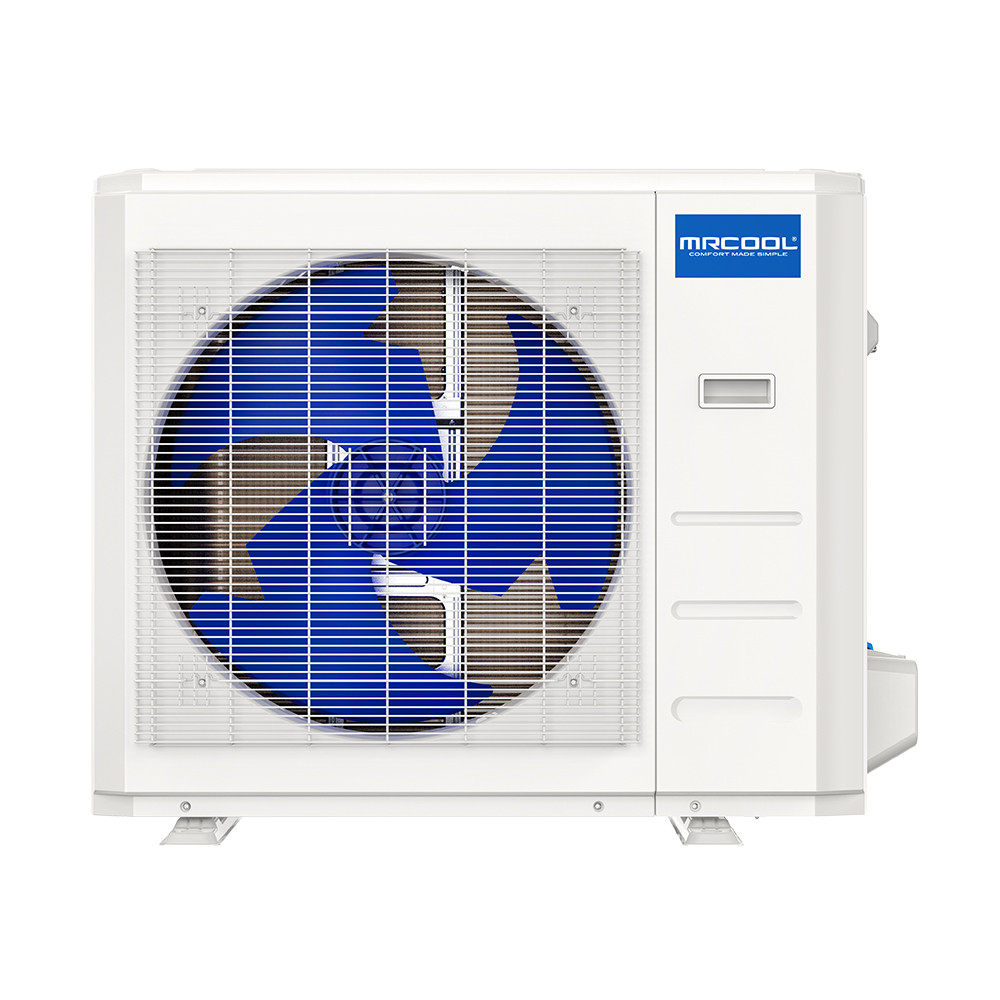
3. Clean the Outdoor Unit (Condenser)
Your outdoor unit sat through fall leaves, winter storms, and spring pollen. It needs attention:
- Turn off power to the outdoor unit at the disconnect or breaker
- Remove visible debris — leaves, grass clippings, dirt, and any objects stored near the unit
- Clear vegetation — Trim plants and bushes to maintain 24 inches of clearance on all sides and 5 feet above
- Clean the coils — Use a garden hose to spray the condenser coils from the inside out. Don't use a pressure washer — the fins are delicate.
- Straighten bent fins — Use a fin comb ($5-$10 at any hardware store) to gently straighten crushed or bent fins
- Check the base — Ensure the unit is level on its pad. An unlevel unit can cause compressor issues.
4. Inspect and Clean the Indoor Unit
For central air:
- Check the evaporator coil (usually above the furnace) for visible dirt or ice
- Verify the blower fan spins freely
- Inspect the drain pan for standing water or algae growth
For mini splits:
- Open the front panel and inspect the evaporator coils
- Use a soft brush to remove dust from the coils
- Apply no-rinse coil cleaner if needed
- Wipe down the housing, louvers, and swing vanes
- Check that the condensate drain line is clear (pour a small amount of diluted bleach through it)
5. Check the Condensate Drain
Both central air and mini splits produce condensation that must drain away. A clogged drain is the most common cause of water damage from HVAC systems.
Central air: Locate the drain line (usually a PVC pipe near the indoor unit). Pour 1 cup of diluted bleach through the access port to clear algae and slime.
Mini splits: Check that the drain hose exiting the wall is flowing freely. Pour diluted bleach through the indoor drain pan.
Test: Run the system for 30 minutes and verify water is draining out the exit point — not backing up or leaking from the indoor unit.
6. Check Refrigerant Lines and Connections
Visual inspection only — don't attempt to add or remove refrigerant:
- Line set insulation: Check that the foam insulation on the larger (suction) line is intact. Replace any deteriorated or missing insulation — exposed lines reduce efficiency and can cause condensation issues.
- Connection points: Look for any oil stains around fittings, which can indicate a refrigerant leak.
- Support: Ensure line sets are properly supported and not sagging, kinked, or rubbing against sharp edges.
If you suspect a refrigerant leak (oil stains, reduced cooling performance, ice on the lines), call a professional.
7. Thermostat and Controls Check
- Replace thermostat batteries if applicable
- Verify programming — Update the schedule for summer (later sunset, different occupancy patterns)
- Test WiFi connectivity for smart thermostats and mini split apps
- Calibrate if needed — If your thermostat reads significantly different from an accurate thermometer, it may need recalibration or replacement
For MrCool systems, update the app and check for any firmware updates for your system.
8. Inspect Ductwork (Central Air Only)
If you can access your ductwork (attic, basement, crawlspace):
- Look for disconnected sections — Ducts can separate at joints over time
- Check for visible damage — Crushed, torn, or deteriorated ducts waste energy
- Feel for air leaks — Run the system and hold your hand near duct joints. If you feel air blowing, they need sealing.
- Check insulation — Ducts in unconditioned spaces should be insulated to prevent condensation and energy loss
Sealing duct leaks with mastic sealant (not duct tape — it deteriorates quickly) can improve efficiency by 10-20%.
9. Seal Air Leaks in Your Home
Your cooling system works hardest against air infiltration — hot outside air leaking in:
- Windows and doors: Check weather stripping and caulking. Replace if cracked, compressed, or missing.
- Outlets and switch plates: Install foam gaskets behind outlet and switch covers on exterior walls ($2 for a pack at any hardware store)
- Attic access: Ensure the attic hatch or pull-down stairs are weather-stripped
- Plumbing and electrical penetrations: Seal gaps where pipes and wires enter from outside with foam sealant
10. Prepare for Peak Demand
Some additional steps to ensure smooth summer operation:
- Check your circuit breaker — Ensure the HVAC breaker hasn't tripped. If it trips repeatedly, call an electrician.
- Test your ceiling fans — Fans should rotate counterclockwise in summer (pushing air down). Clean fan blades while you're at it.
- Consider a surge protector — Power surges during summer thunderstorms can damage HVAC electronics. A whole-house surge protector ($200-$300 installed) provides protection.
- Close blinds on sun-facing windows during the hottest part of the day — this can reduce cooling load by 10-25%
Upgrade Checklist: Is It Time for a New System?
If your pre-season inspection reveals significant issues, it might be time to upgrade. Consider a new system if:
- Your system is over 10 years old
- You've had 2+ repair calls in the past year
- Your energy bills have been steadily increasing
- The system uses R-22 refrigerant (phased out)
- Rooms are consistently uncomfortable
- The system runs constantly without reaching setpoint
- Strange noises or smells persist after maintenance
The Smart Upgrade: MrCool 5th Gen DIY
If you're ready for a new system, the MrCool 5th Gen DIY mini split offers:
- SEER2 20+ efficiency — 40-60% more efficient than older systems
- DIY installation — Save $1,500-$3,000 on labor
- Heating AND cooling — Year-round comfort from one unit
- Zone control — Cool only the rooms you use
- Up to $2,000 federal tax credit for qualifying heat pump installations
Recommended Systems
- 9K BTU — Bedrooms, offices
- 12K BTU — Living rooms, bedrooms
- 18K BTU — Large rooms, suites
- 24K BTU — Open floor plans
- 36K BTU — Whole-home cooling
The Printable Checklist
Save this for easy reference:
- Test system on a mild day
- Clean/replace air filters
- Clean outdoor condenser unit
- Clean indoor unit coils
- Clear condensate drain
- Inspect refrigerant lines
- Check thermostat and controls
- Inspect ductwork (if applicable)
- Seal home air leaks
- Prepare for peak demand
Get Summer-Ready Today
Spending an hour on this checklist now prevents emergency breakdowns in July. And if you're ready for an upgrade, use promo code SUMMER100 for $100 off any MrCool 5th Gen DIY system at HVACZAR.
Share this article
Get ahead of the season
Systems ship in 1–3 days — beat the rush before the weather turns.
More on this topic: Troubleshooting & Error Codes
Keep Reading
Related Articles
MrCool Mini Split vs Window AC: Why Ductless Wins
Comparing MrCool DIY mini splits to window air conditioners on efficiency, noise, installation, and long-term value. See why ductless is the smarter investment.
Winter Heat Pump Guide: Sub-Zero Performance
Can heat pumps really work in sub-zero temperatures? Yes. This guide covers cold-climate heat pump technology, real-world performance data, and the best systems for harsh winters.
Hurricane Season HVAC Prep: Protect Your Condenser
Hurricane season threatens your outdoor HVAC equipment. Learn how to protect your condenser before, during, and after a storm to avoid costly damage.