
Garage Mini Split Install: Heat and Cool Your Workshop
Turn your garage or workshop into a year-round usable space with a MrCool DIY mini split. Sizing, insulation tips, placement, and a full install walkthrough.
Admin User
Author
Why a Mini Split Is the Best Garage HVAC Option
Garages are HVAC wastelands. Most homes have zero heating or cooling in the garage, and the ones that do usually have a clunky space heater or a window AC unit that barely makes a dent. If you use your garage as a workshop, gym, or hobby space, this isn't good enough.
A mini split is the ideal solution for garages because:
- No ductwork required. Garages don't have ducts, and adding them would be absurdly expensive.
- Both heating and cooling. One system handles summer heat and winter cold.
- Efficient in large, open spaces. Mini splits handle the high ceilings and open floor plans that make garages challenging.
- Wall-mounted = out of the way. No floor space consumed, no tripping hazards, no blocking workbench area.
Sizing Your Garage Mini Split
Garages are harder to size than interior rooms because they're typically uninsulated or poorly insulated, have large door openings, and have concrete floors that absorb and radiate heat. You need to account for all of this.
Standard Sizing (with basic insulation)
| Garage Size | BTU Needed | Recommended System |
|---|---|---|
| 1-car (200-300 sq ft) | 12,000 | 12K BTU Bundle |
| 2-car (400-600 sq ft) | 18,000-24,000 | 18K or 24K Bundle |
| 3-car (600-900 sq ft) | 24,000-36,000 | 24K or 36K Bundle |
Adjustment Factors
Uninsulated garage? Add 30-50% to the BTU calculation. An uninsulated 2-car garage that would normally need 18K BTU should get a 24K BTU system.
Frequent door opening? If you're opening the garage door regularly throughout the day, size up. Every time that door opens, you're dumping your conditioned air and replacing it with outdoor air.
High ceilings? Standard garage ceilings are 8-10 feet. If yours is higher (common in workshops with lifts), add 10% per foot above 8 feet.
Climate zone? In extreme climates — northern winters or southern summers — size up one tier for safety margin.
Zomg's Recommendation
Zomg the Handyman installs garage units regularly and has a simple rule: "For garages, I almost always go one size up from what the square footage suggests. The insulation is never as good as you think, and there's always more air leakage than you expect. It's better to have extra capacity that you don't fully use than to be underpowered on the hottest day of the year."
Insulation: The Force Multiplier
Before you install your mini split, spend a weekend on basic garage insulation. The ROI is enormous — every dollar spent on insulation reduces how hard your mini split has to work and how much electricity it consumes.
Priority Order
Garage door insulation kit ($80-$150). This is the biggest heat transfer surface in any garage. Foam board insulation panels cut to fit each garage door panel make a dramatic difference. Pre-cut kits are available at any home improvement store.
Weatherstripping around the garage door ($20-$40). The seal between the door and the frame is often worn or missing entirely. Replace it.
Wall insulation (if accessible). If your garage has exposed stud bays, adding fiberglass batt or rigid foam insulation is straightforward and high-impact.
Ceiling insulation (especially if there's a room above). If your garage ceiling is the floor of a living space, it should already be insulated. If it's open to the attic, insulating the ceiling keeps heat from escaping upward.
A well-insulated garage can often use one size smaller mini split than an uninsulated one — saving you $200-$500 on the unit itself plus ongoing electricity costs.
Placement for Garages
Indoor Unit
The ideal position for a garage air handler is:
- On the wall opposite the garage door, high up (6-8 inches below ceiling). This lets the air flow the full length of the garage.
- Centered on the wall for even distribution, or corner-mounted if you want concentrated airflow toward a specific work area.
- Above workbench height so it's out of the way and won't be blocked by stored items.
- Away from dust sources. If you run a table saw or sander, position the air handler as far from the dust generation point as possible. While the filters can handle normal dust, fine wood dust or metal particles from grinding will clog them fast.
Outdoor Unit
For garages, the outdoor unit usually sits right outside the garage wall:
- Place it on a concrete pad or mounting bracket — never on bare dirt.
- Keep it away from the garage door path so you don't hit it when pulling in.
- Ensure the service valves are accessible for maintenance.
Electrical Considerations for Garages
Many garages have limited electrical capacity — maybe a single 20-amp circuit shared between outlets and an opener. A mini split needs its own dedicated circuit:
- 12K BTU: 115V / 20A — you might be able to run this from your existing panel if you have an open breaker slot.
- 18K, 24K, or 36K BTU: 230V / 30A — this almost certainly requires running a new circuit from your main panel to the garage.
If your garage doesn't have a subpanel, this is a good time to add one. An electrician can install a 60A subpanel for $300-$600, giving you capacity for the mini split plus future upgrades.
Dealing with Dust and Debris
Garages and workshops produce more airborne particles than any other room in a house. This matters for mini splits because:
- Dirty filters reduce efficiency and can freeze the evaporator coil.
- Fine particles can get into the fan motor and cause premature wear.
Filter Maintenance Schedule
In a workshop environment, plan to clean your mini split filters every 2 weeks instead of the monthly schedule recommended for indoor installations. The process takes 5 minutes:
- Pop off the front panel.
- Slide out the mesh filters.
- Rinse with water and let dry completely.
- Reinstall.
Extra Protection
If you do heavy woodworking or metalworking, consider running a shop air filtration system alongside the mini split. This catches the heavy particulates before they reach the mini split's filters, extending filter life and protecting the system.
Install Walkthrough
The installation process in a garage is essentially the same as any room, with a few garage-specific notes:
Mounting: Garage walls are often exposed studs (easy) or concrete block (need masonry anchors). If it's finished drywall over studs, standard installation applies.
Wall penetration: Garage exterior walls are often thicker (concrete block, brick) which makes the hole saw step slower but not harder. Use a hammer drill with a masonry bit.
Line set routing: In a garage, aesthetics matter less. You can often run the line set exposed along the wall without a cover kit and nobody will care.
Drainage: Make sure the condensate drain has a clear path away from the foundation. In cooling mode, a mini split produces significant condensate — you don't want it pooling against your garage slab.
Year-Round Garage: What Changes
Once your mini split is running, your garage becomes genuinely usable 365 days a year. Some things to think about:
- Organize your space now that you'll be spending more time there.
- Consider lighting upgrades — LED shop lights are cheap and transform a dark garage.
- Add a dehumidifier if you're in a humid climate and plan to store tools or materials that can rust.
- Seal the garage door bottom — the mini split will reveal every air leak you didn't know you had.
Get Started
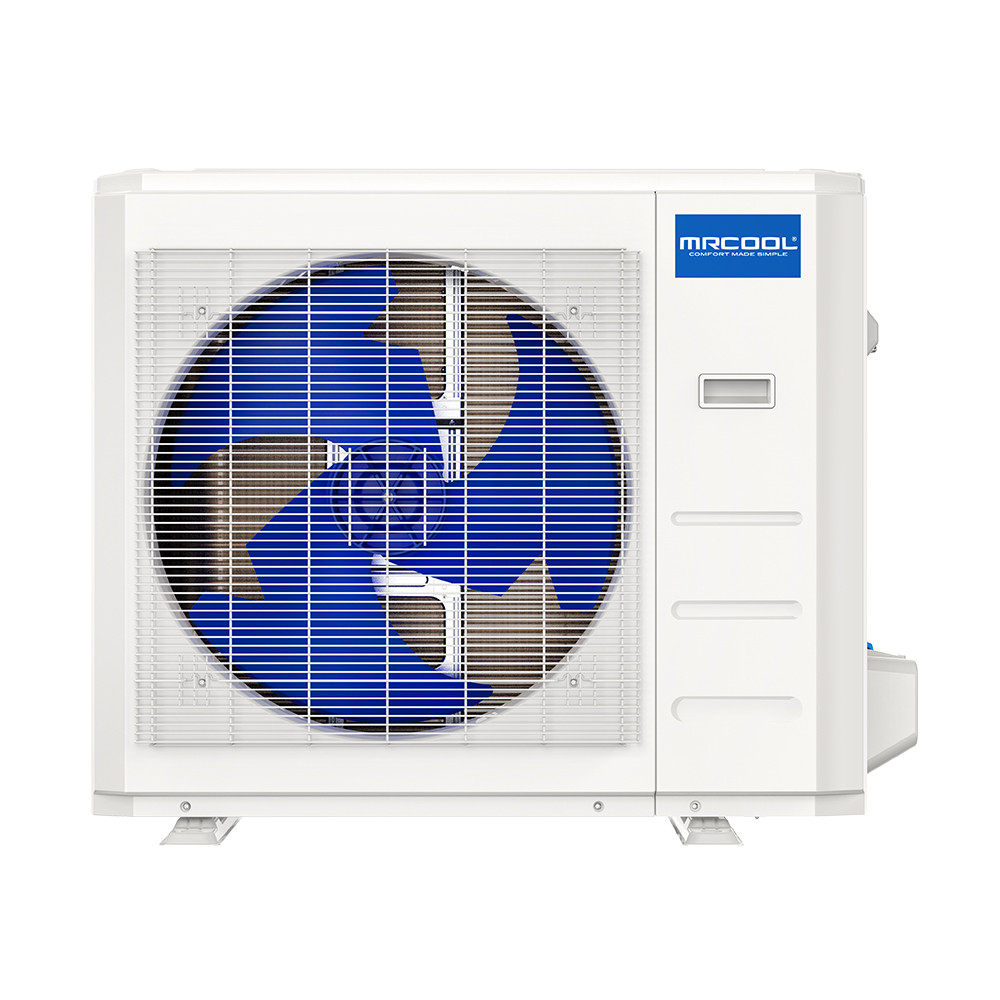
For most 2-car garages, the MrCool DIY 5th Gen 24K BTU Bundle is the sweet spot — enough capacity for poorly insulated spaces, 230V for reliable performance, and the same DIY Quick Connect installation as every other bundle.
Use code SUMMER100 to save $100 on your order.
Share this article
Get a system built for your exact install
Our configurator picks the right line-set lengths and accessories for your run, so nothing is missing on install day.
More on this topic: DIY Installation
Keep Reading
Related Articles
How to Install a MrCool DIY Mini Split in 4 Hours
A step-by-step walkthrough of a complete MrCool DIY 5th Gen mini split installation — from unboxing to cold air — in under four hours with no HVAC license required.
MrCool DIY 5th Gen vs 4th Gen: What Changed
A detailed comparison of MrCool's DIY 5th Generation and 4th Generation mini splits — what improved, what stayed the same, and whether it's worth upgrading.
First-Time Mini Split Install? Everything You Need to Know
Never installed HVAC before? This beginner-friendly guide covers everything from picking the right system to flipping the switch on your first MrCool mini split.